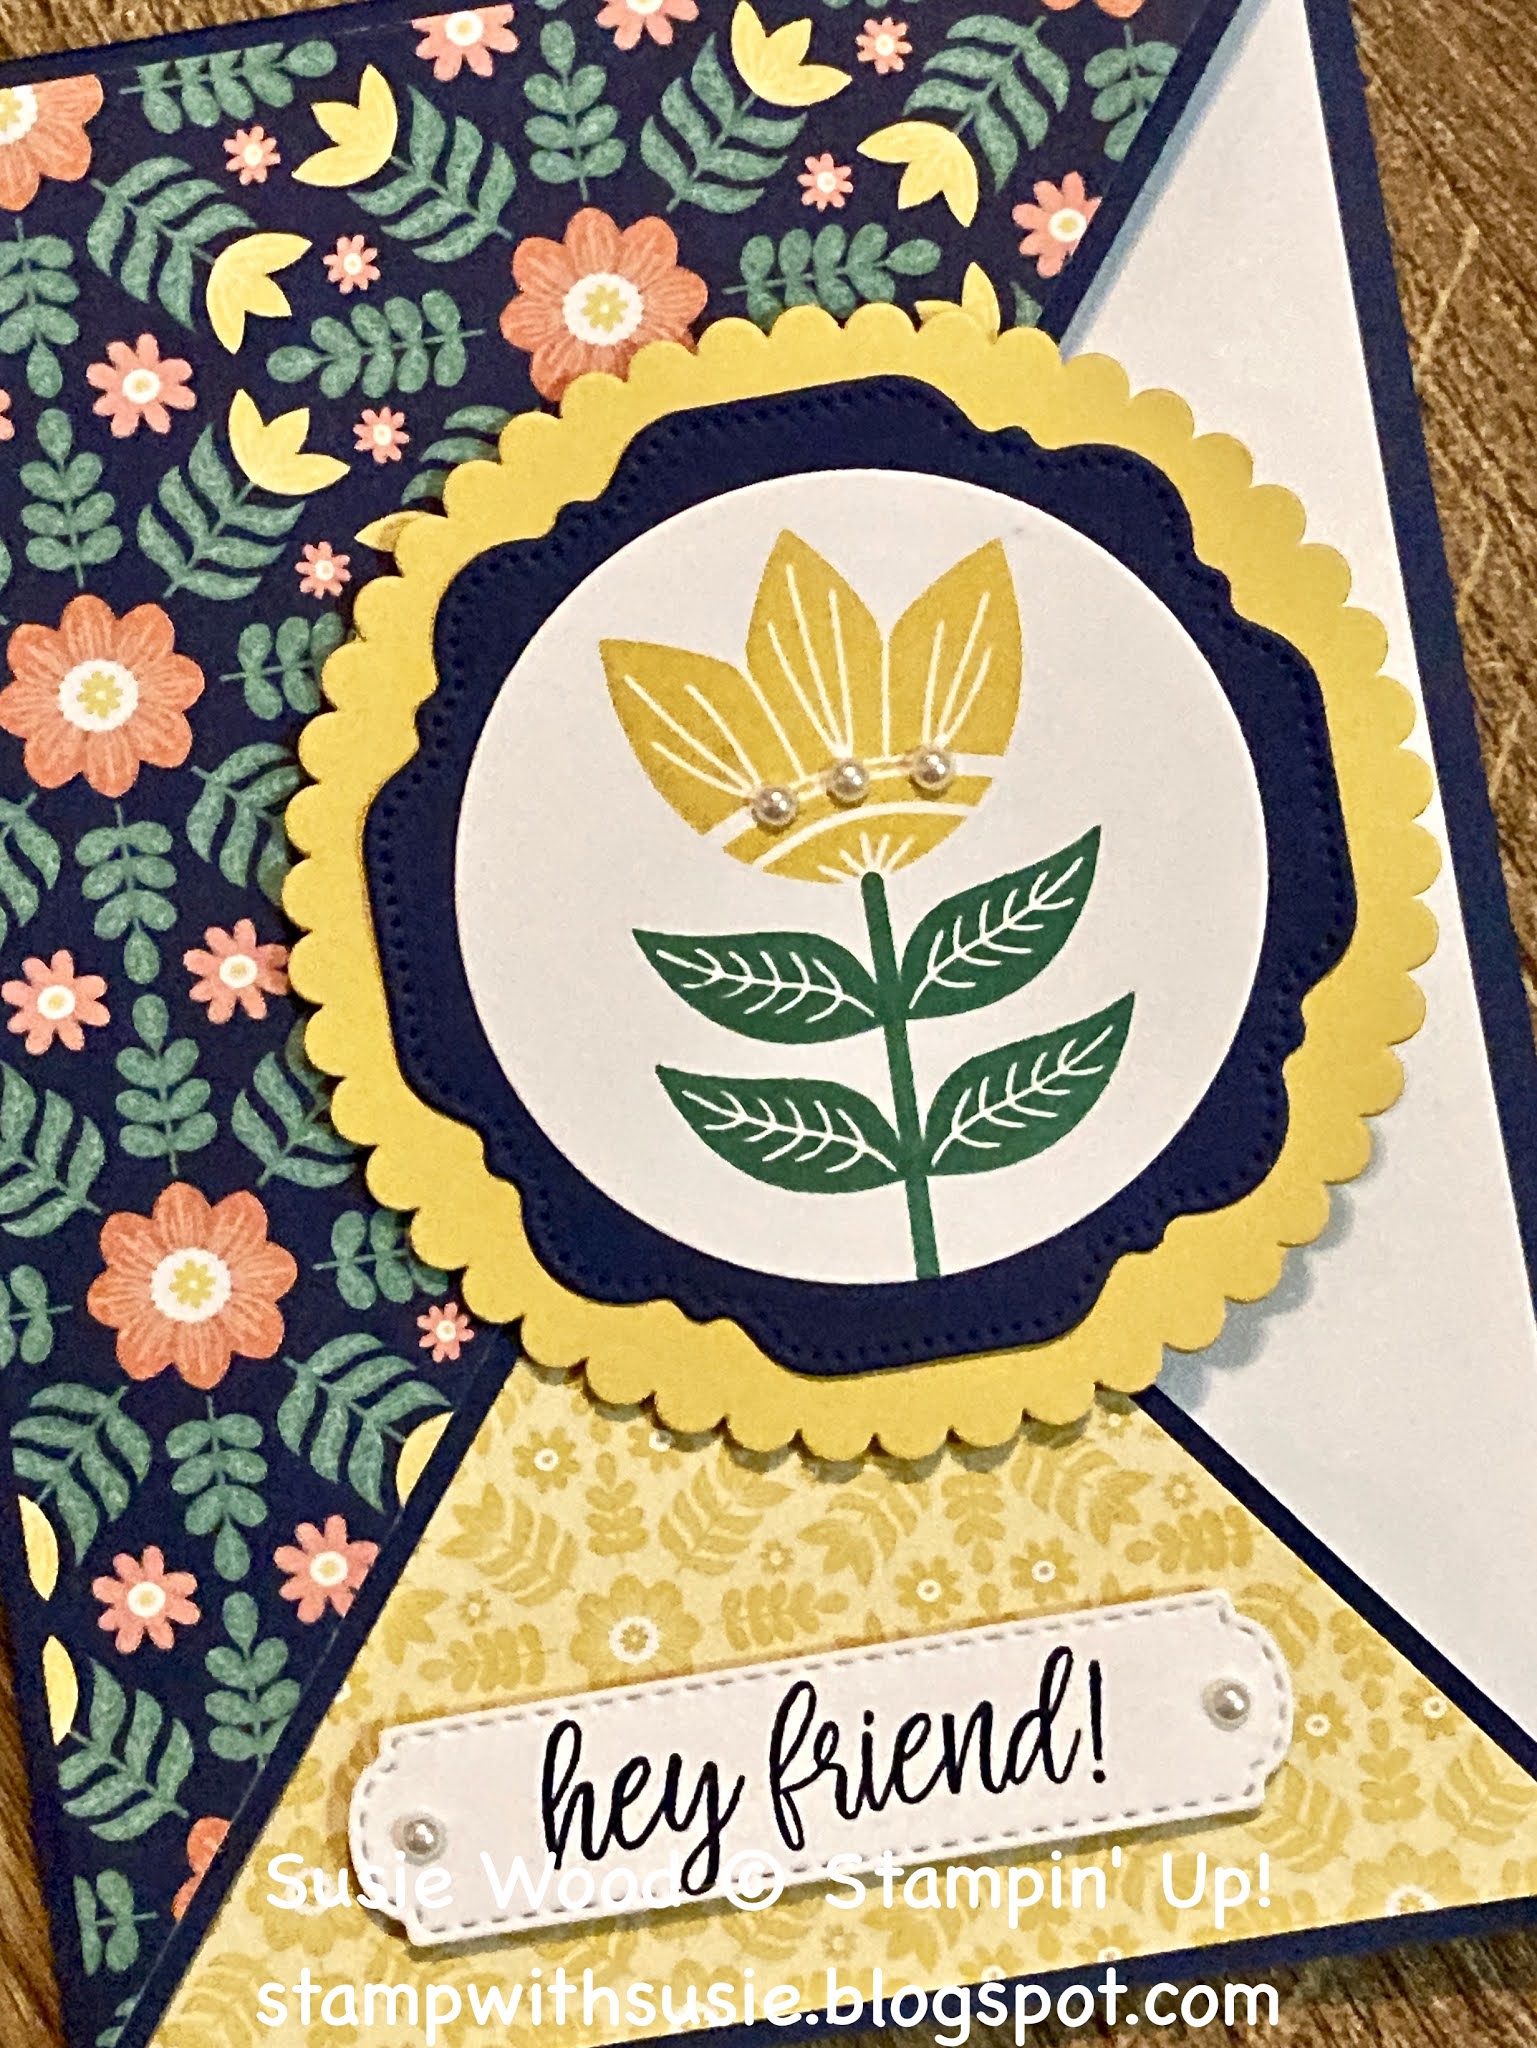
Here is a bright & cheery RETRO card.
I used the Sweet Symmetry Suite when creating it!
It also made this a fun fold card- called a Cris Cross!
You can CLICK on the links below to see a couple other cards
that I have created lately with this Cris Cross fun fold!
I have step-by-step photos posted with the Vertical Peach Card,
so that you can see how to make this fun fold!
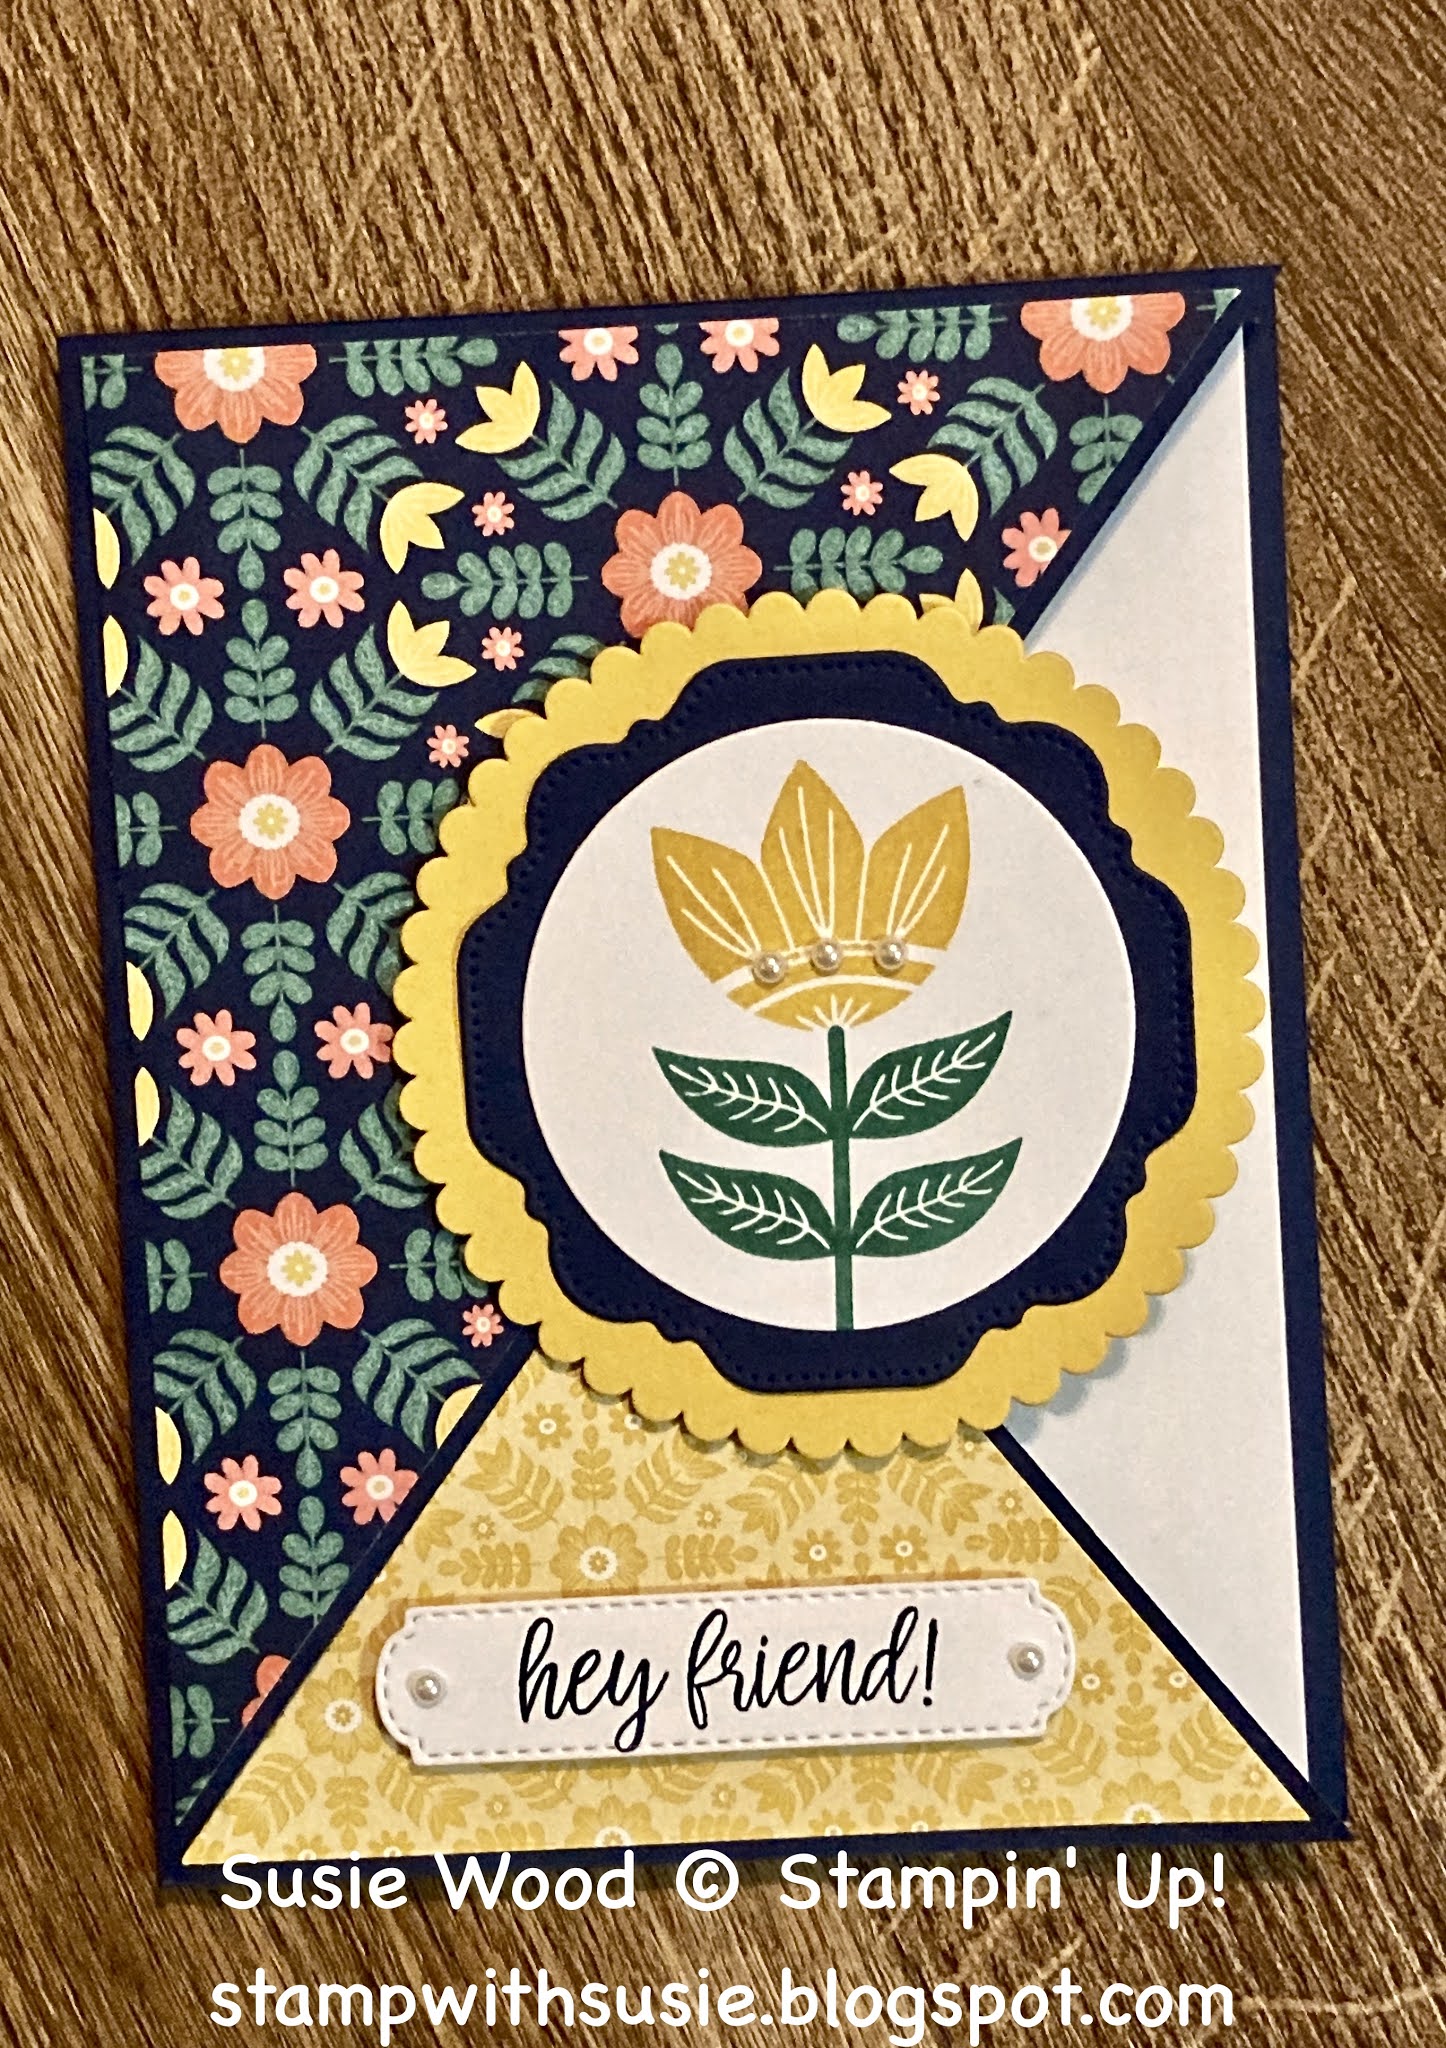
So what do you think?
I love the way it turned out!
It makes me smile.
This Sweet Symmetry DSP is on SALE NOW!
Here are the supplies & measurements.
stamp set: 'In Symmetry'
card stock:
- Night of Navy- 5 1/2 x 8 1/2"- score at 4 1/4". Diagonally cut from the top right corner to the bottom on the card front, flip the piece you cut off & reattach it to the lower half of the card.
- Bumblebee- 3 1/2" strip- cut scallop with Circle Dies
- Night of Navy- 2 3/4" strip- cut with Hippo Happiness Dies
- Basic White- 2 1/2" strip- cut with Circle Dies & then stamp flower onto it
- Basic White- 1" strip- stamp words onto & cut with All Dressed Up Dies
- Basic White- 4 x 5 1/4"- for inside of card
designer paper: Sweet Symmetry DSP - ON SALE!
- 4 x 5 1/4"- diagonally cut from the top right order to the bottom left corner
ink: Bumblebee; Just Jade; Nigh of Navy
other:
Stampin' Cut & Emboss Machine; Hippo & Friends Dies; Circle Dies; All Dressed Up Dies; dimensionals; Basic Pearls
I hope you have a FABULOUS Friday!!
Happy stamping!
Hugs-
Hugs-
SUSIE


