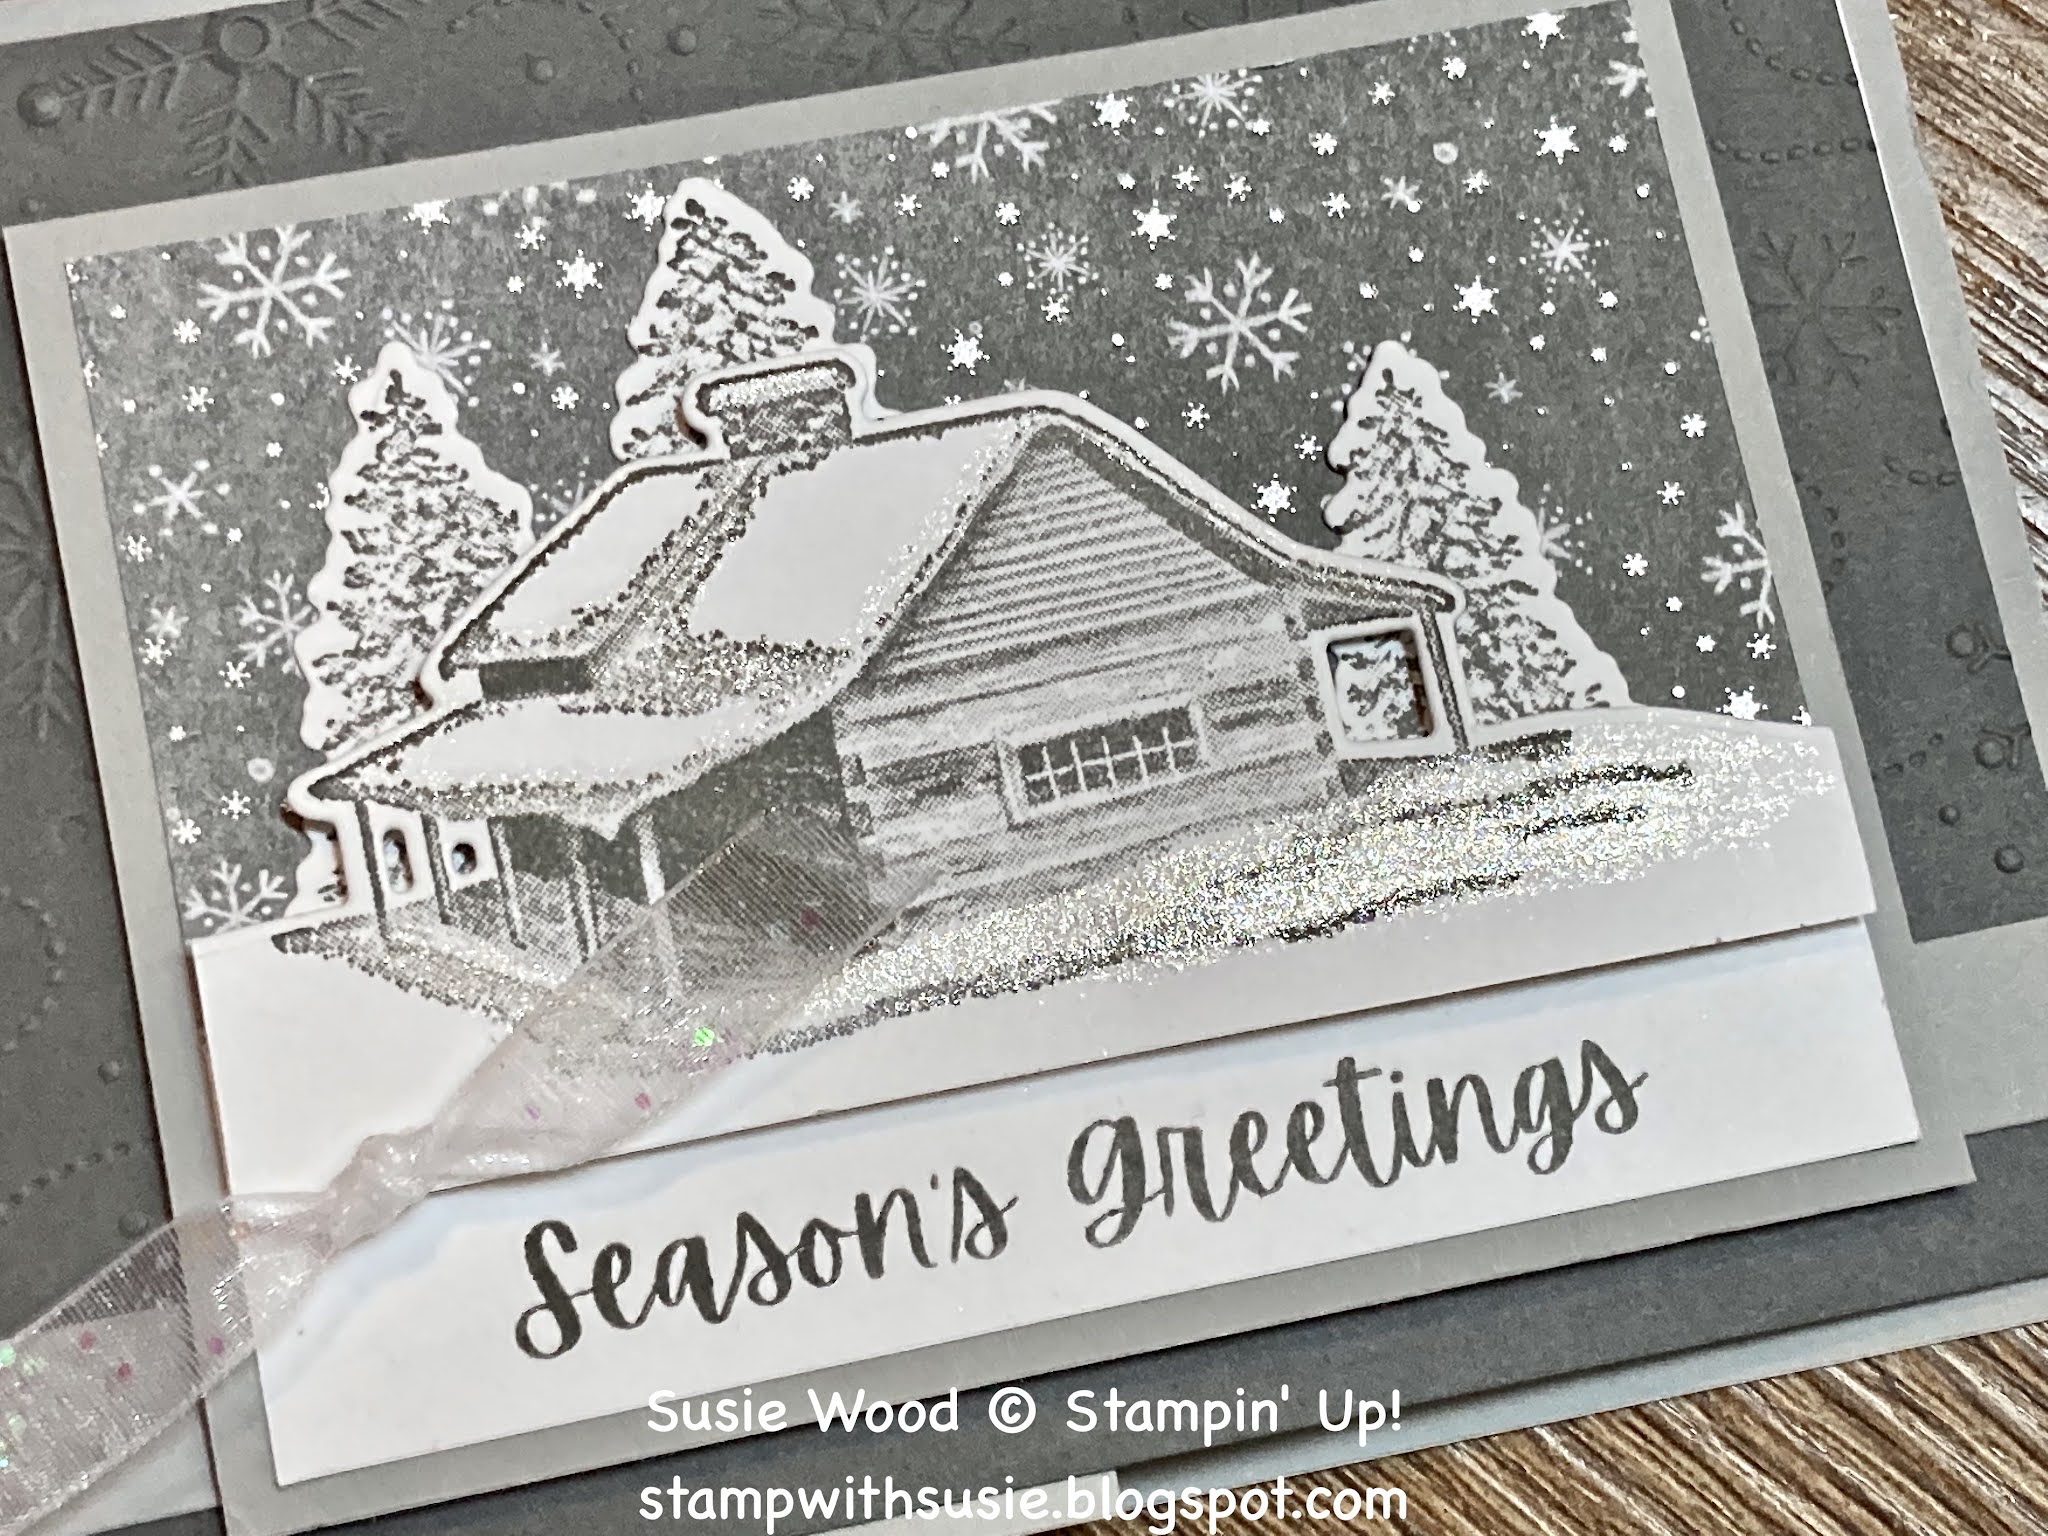
This is such a pretty card!
WOW!
Look at these cool embossing pines.
How did I do it?

#2. Die Plate
#3.- Add 2 of the Silicone Craft Sheets
#4.- piece of card stock
#5.- Pines from the Christmas Pinecone Dies
#5- Specialty Plate
Run through Stampin' Cut & Emboss Machine.
The die didn't cut the card stock, it just embossed it!
COOL HUH!!

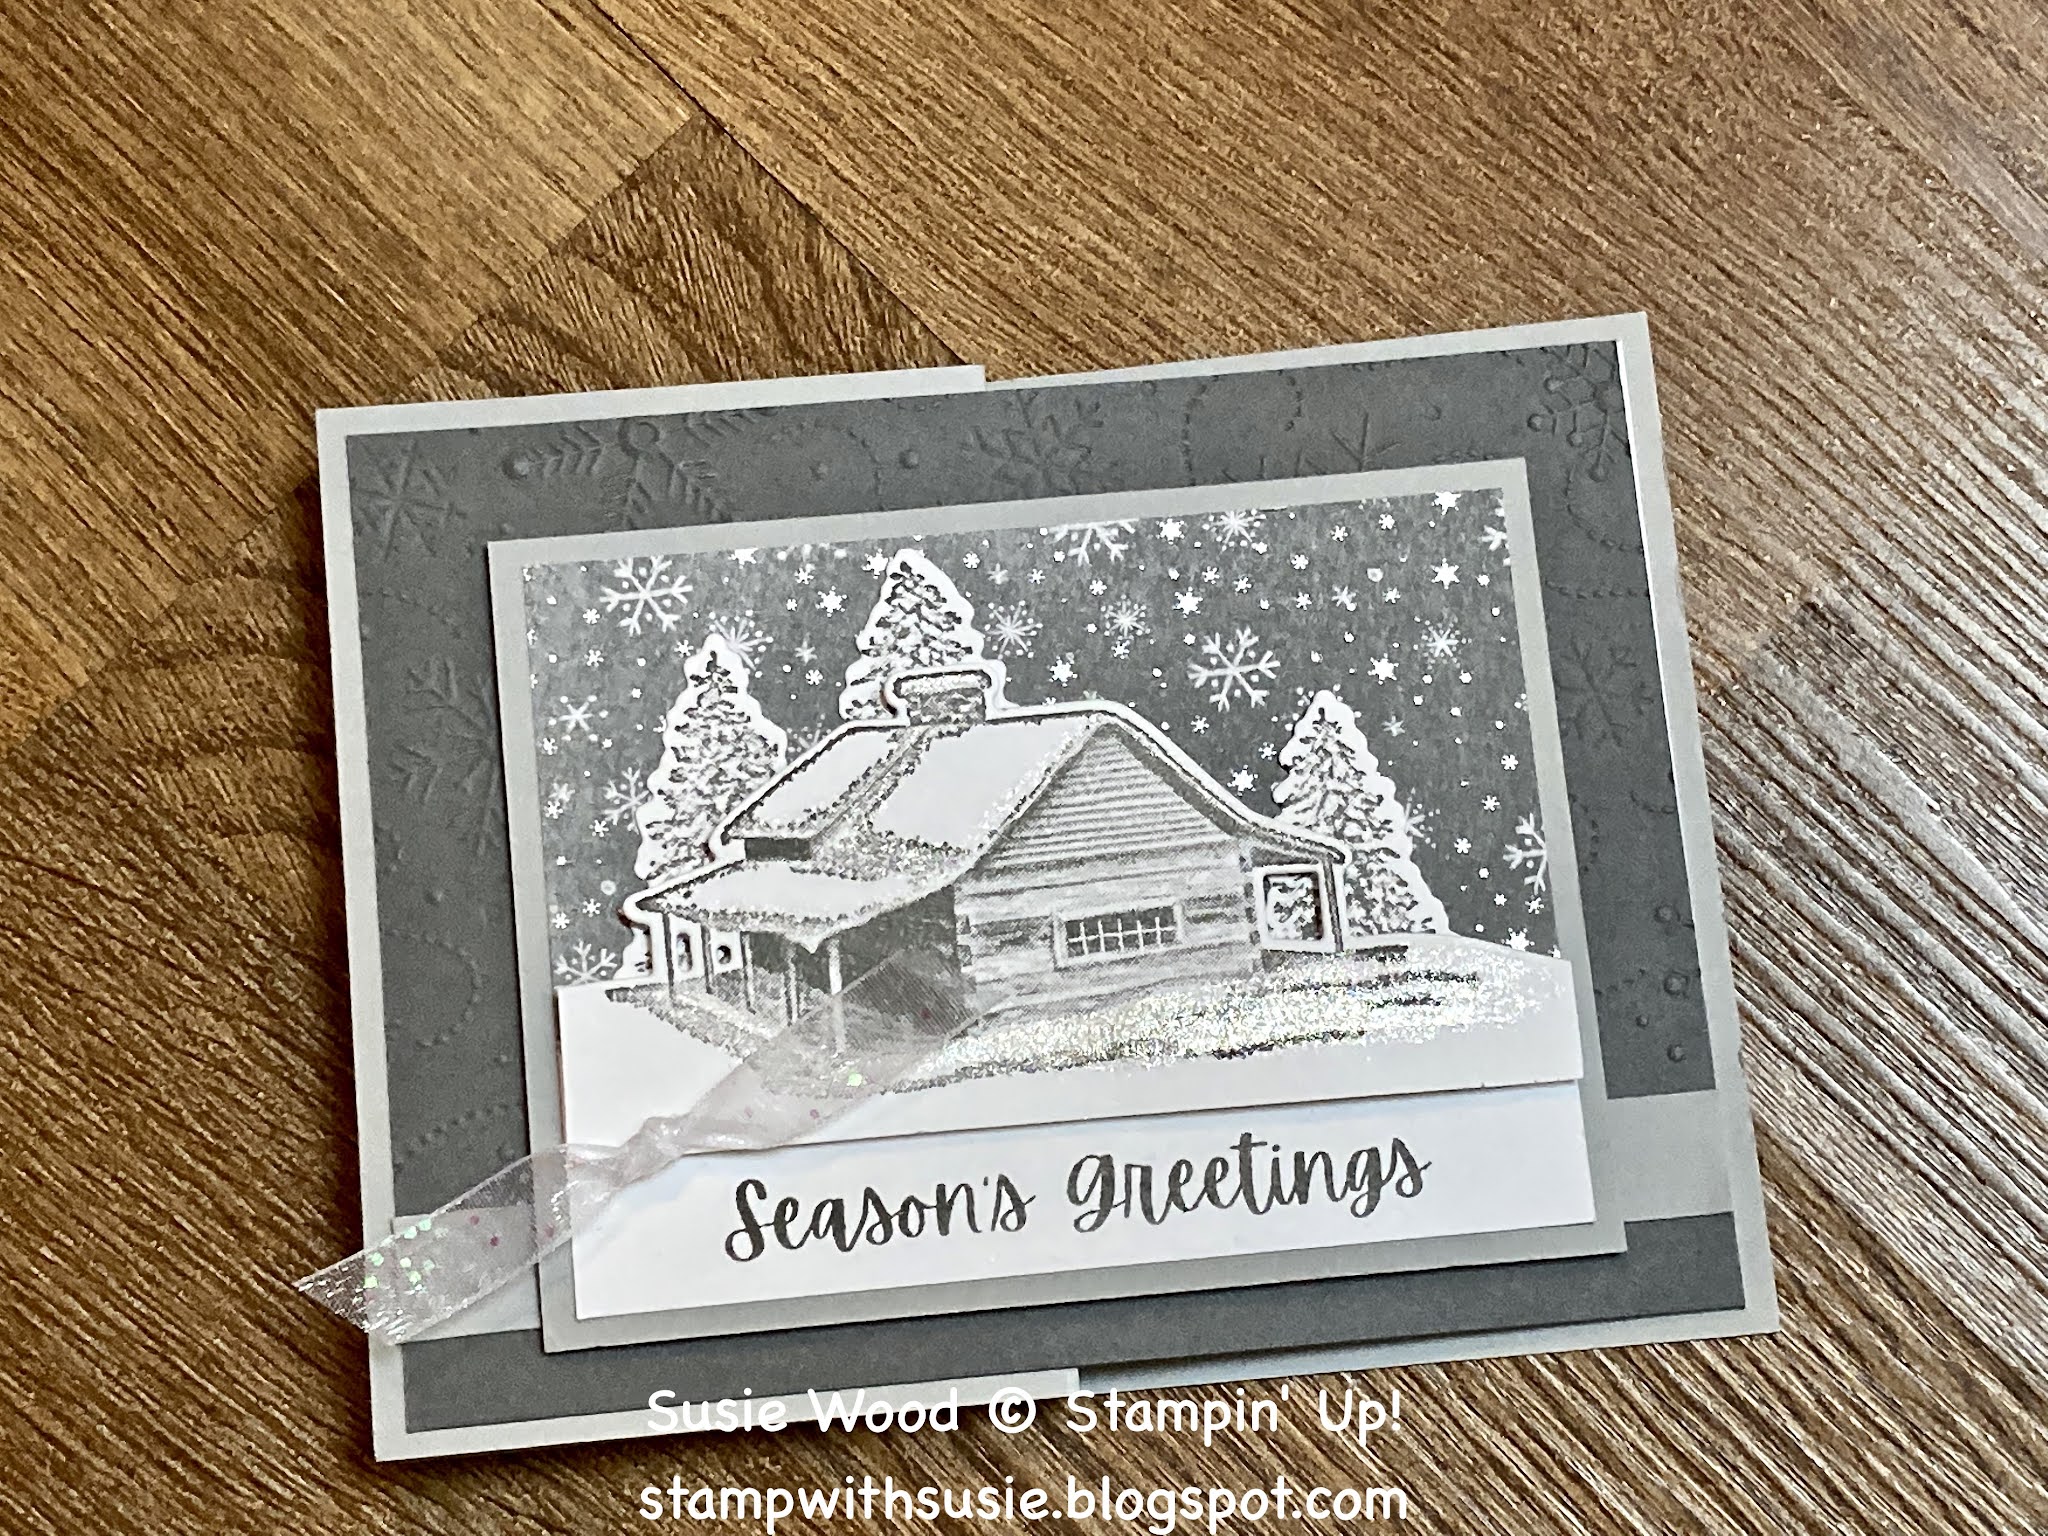
So check these out.
Which do you like better?
Garden Green or Evening Evergreen?


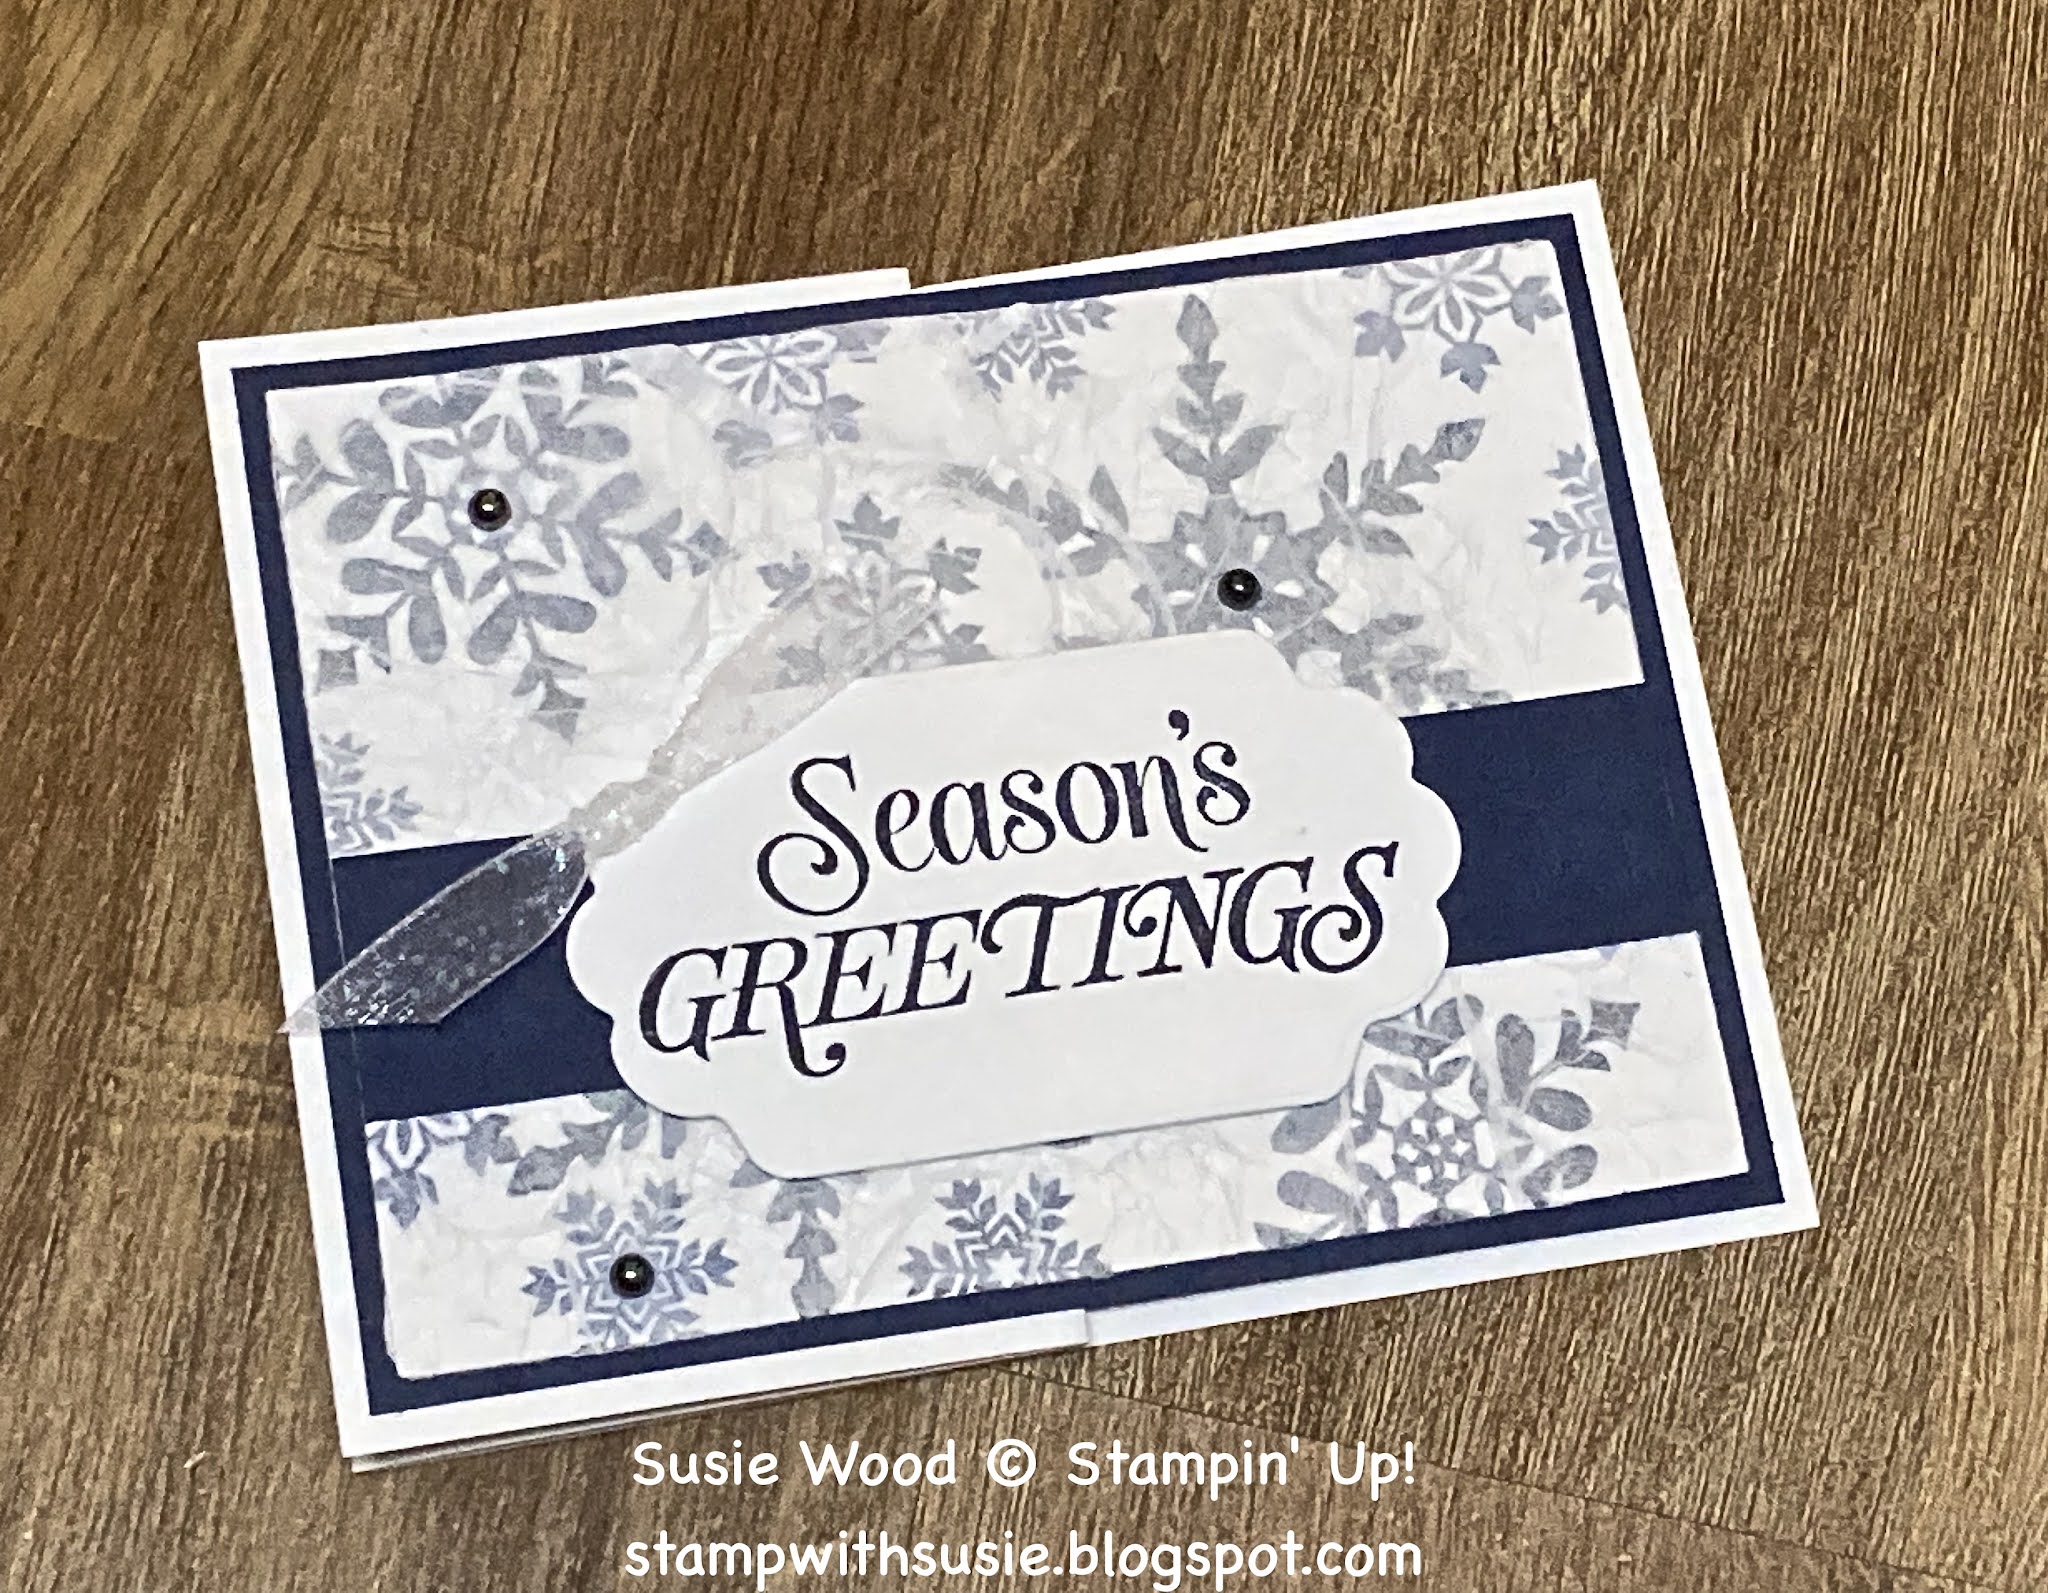
This is what it looks like opened up!

I think that this is such a pretty card!!!
You could just change the words & it could be used for many different occasions.
Here are the supplies & measurements.
stamp set: 'Merry Snowflakes' (words); Christmas Season (pinecones)
card stock:
- Cherry Cobbler- 5 1/2 x 8 1/2"- score at 2 1/8 & 6 3/8"- This is a center gate fold for card base
- Basic White- 3 3/4 x 5"- for outside layer of card
- Garden Green- 3 1/2 x 4 3/4"- emboss like shown above with the Pine die from the Christmas Pinecones Dies
- Cherry Cobbler- 4 1/4" strip- die cut label to go under white (words) label
- Basic White- 4 1/4" strip- die cut label & stamp words onto it
- Old Olive-1" strip- punch out 2 leaves from Symmetrical Stems Punch
- Basic White- 1 1/2" strip- stamp small pinecone & die cut out
- Basic White- 2 1/2" strip- stamp large pinecone & die cut out
- Basic White- 3 3/4 x 5"- for inside of card
designer paper: Painted Christmas DSP- 2 x 5 1/4"
inks: Cherry Cobbler; Crumb Cake; Early Espresso
other: Stampin' Cut & Emboss Machine; Seasonal Label Dies; Symmetrical Stems; Cherry Cobbler/Gold Ribbon; Wonderful Gems; dimensionals; glue dots
This is one of the cards that everyone stamping with me at my
October monthly classes made.
I hope you have a MARVELOUS Monday!!
Happy Stamping!
Hugs-
Hugs-
SUSIE