Pages

Monday, January 25, 2021

Stampin' Up! Sending Hearts January 2021 Paper Pumpkin Alternate cards

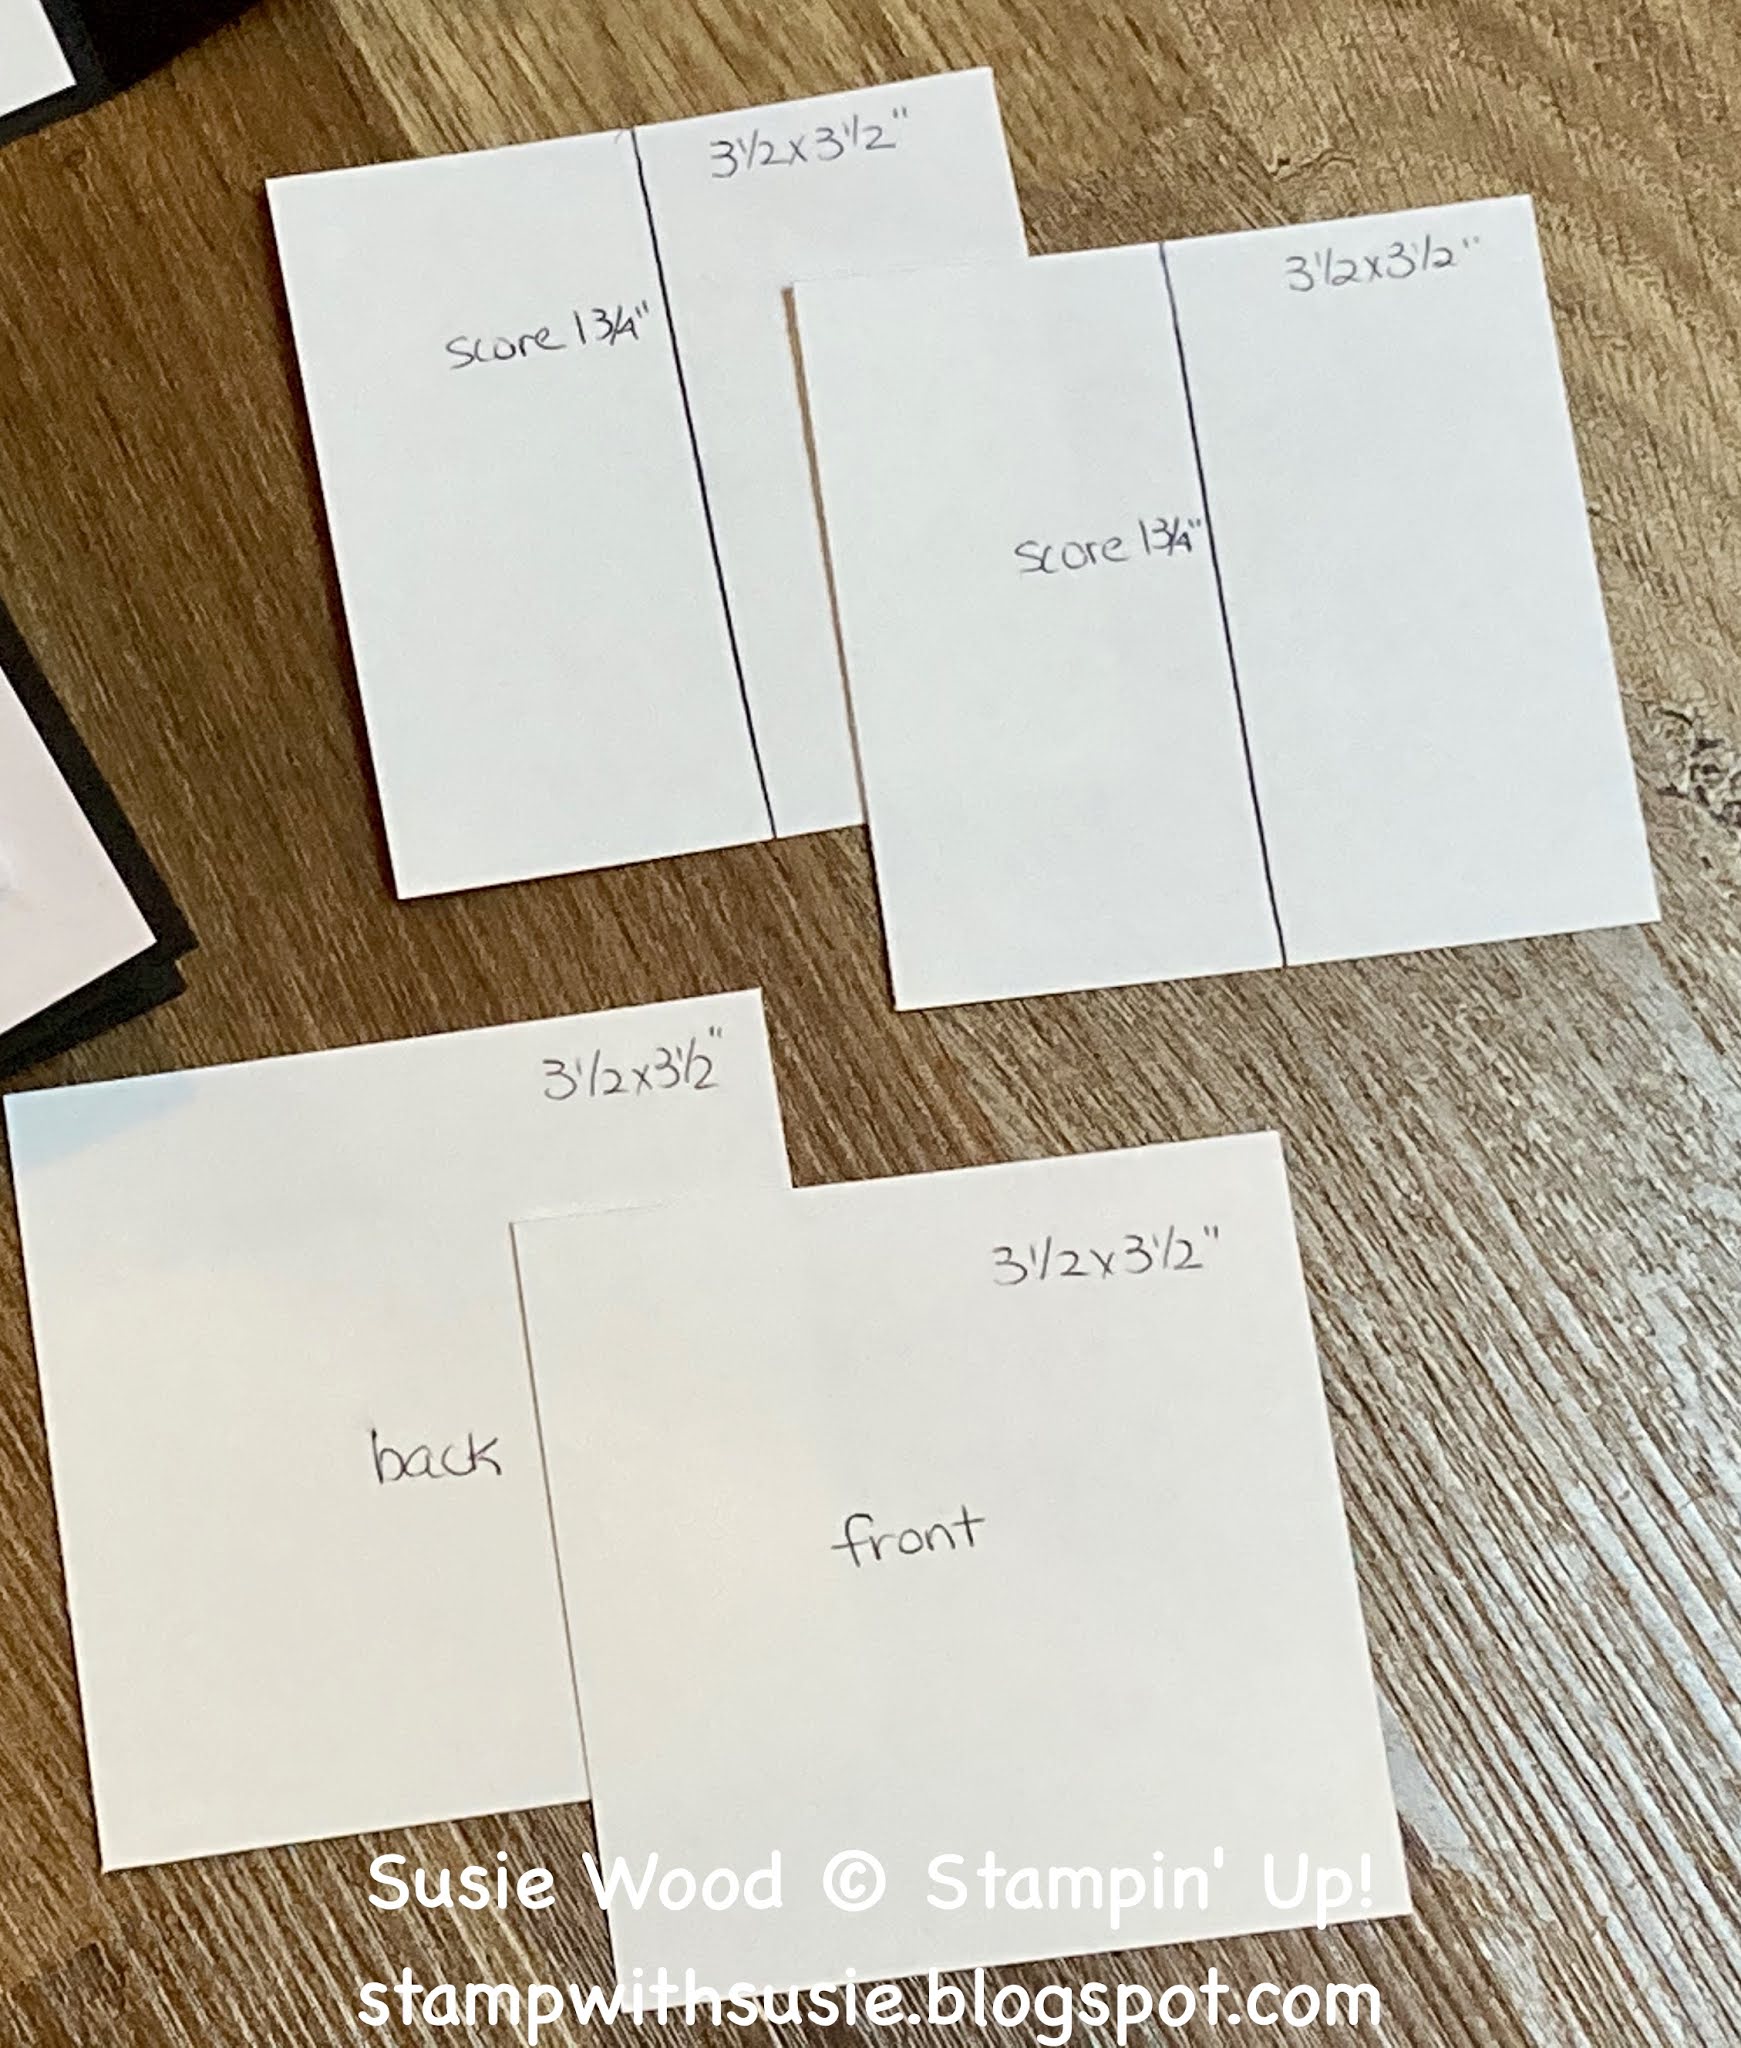
 Oh my gosh....I had so much fun creating with my 
January 2021 Sending Hearts Paper Pumpkin Kit this month!
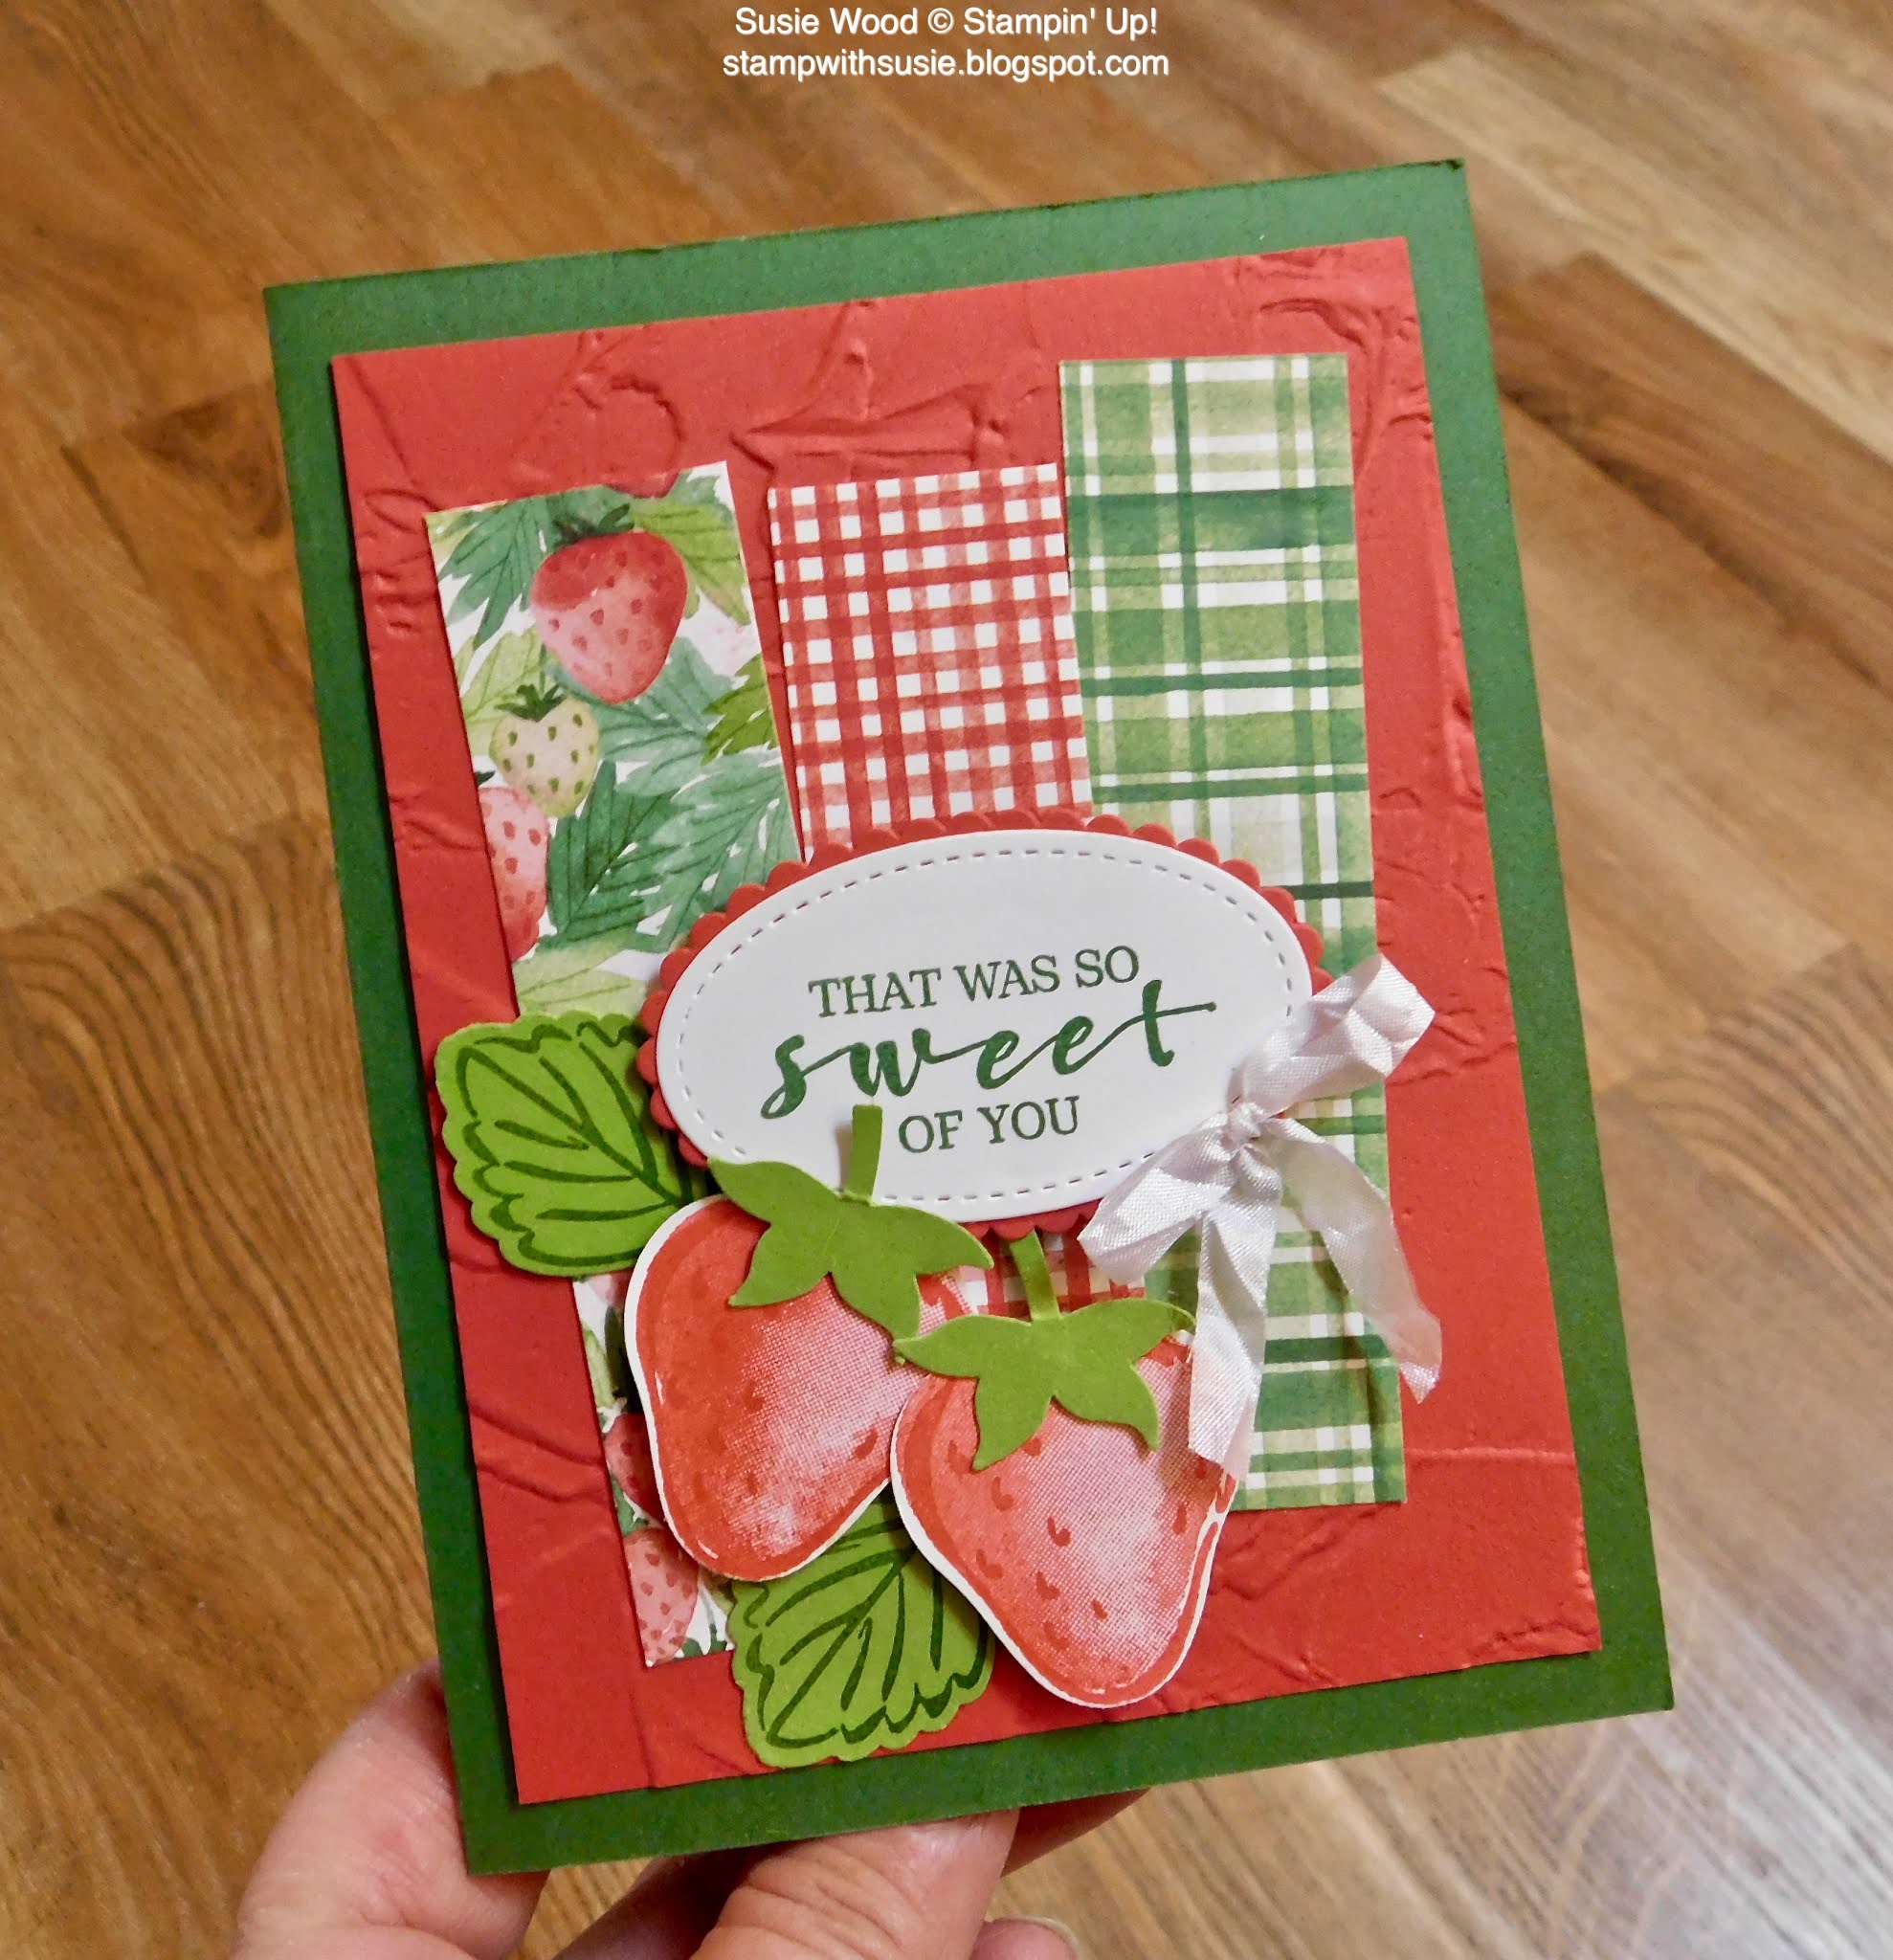
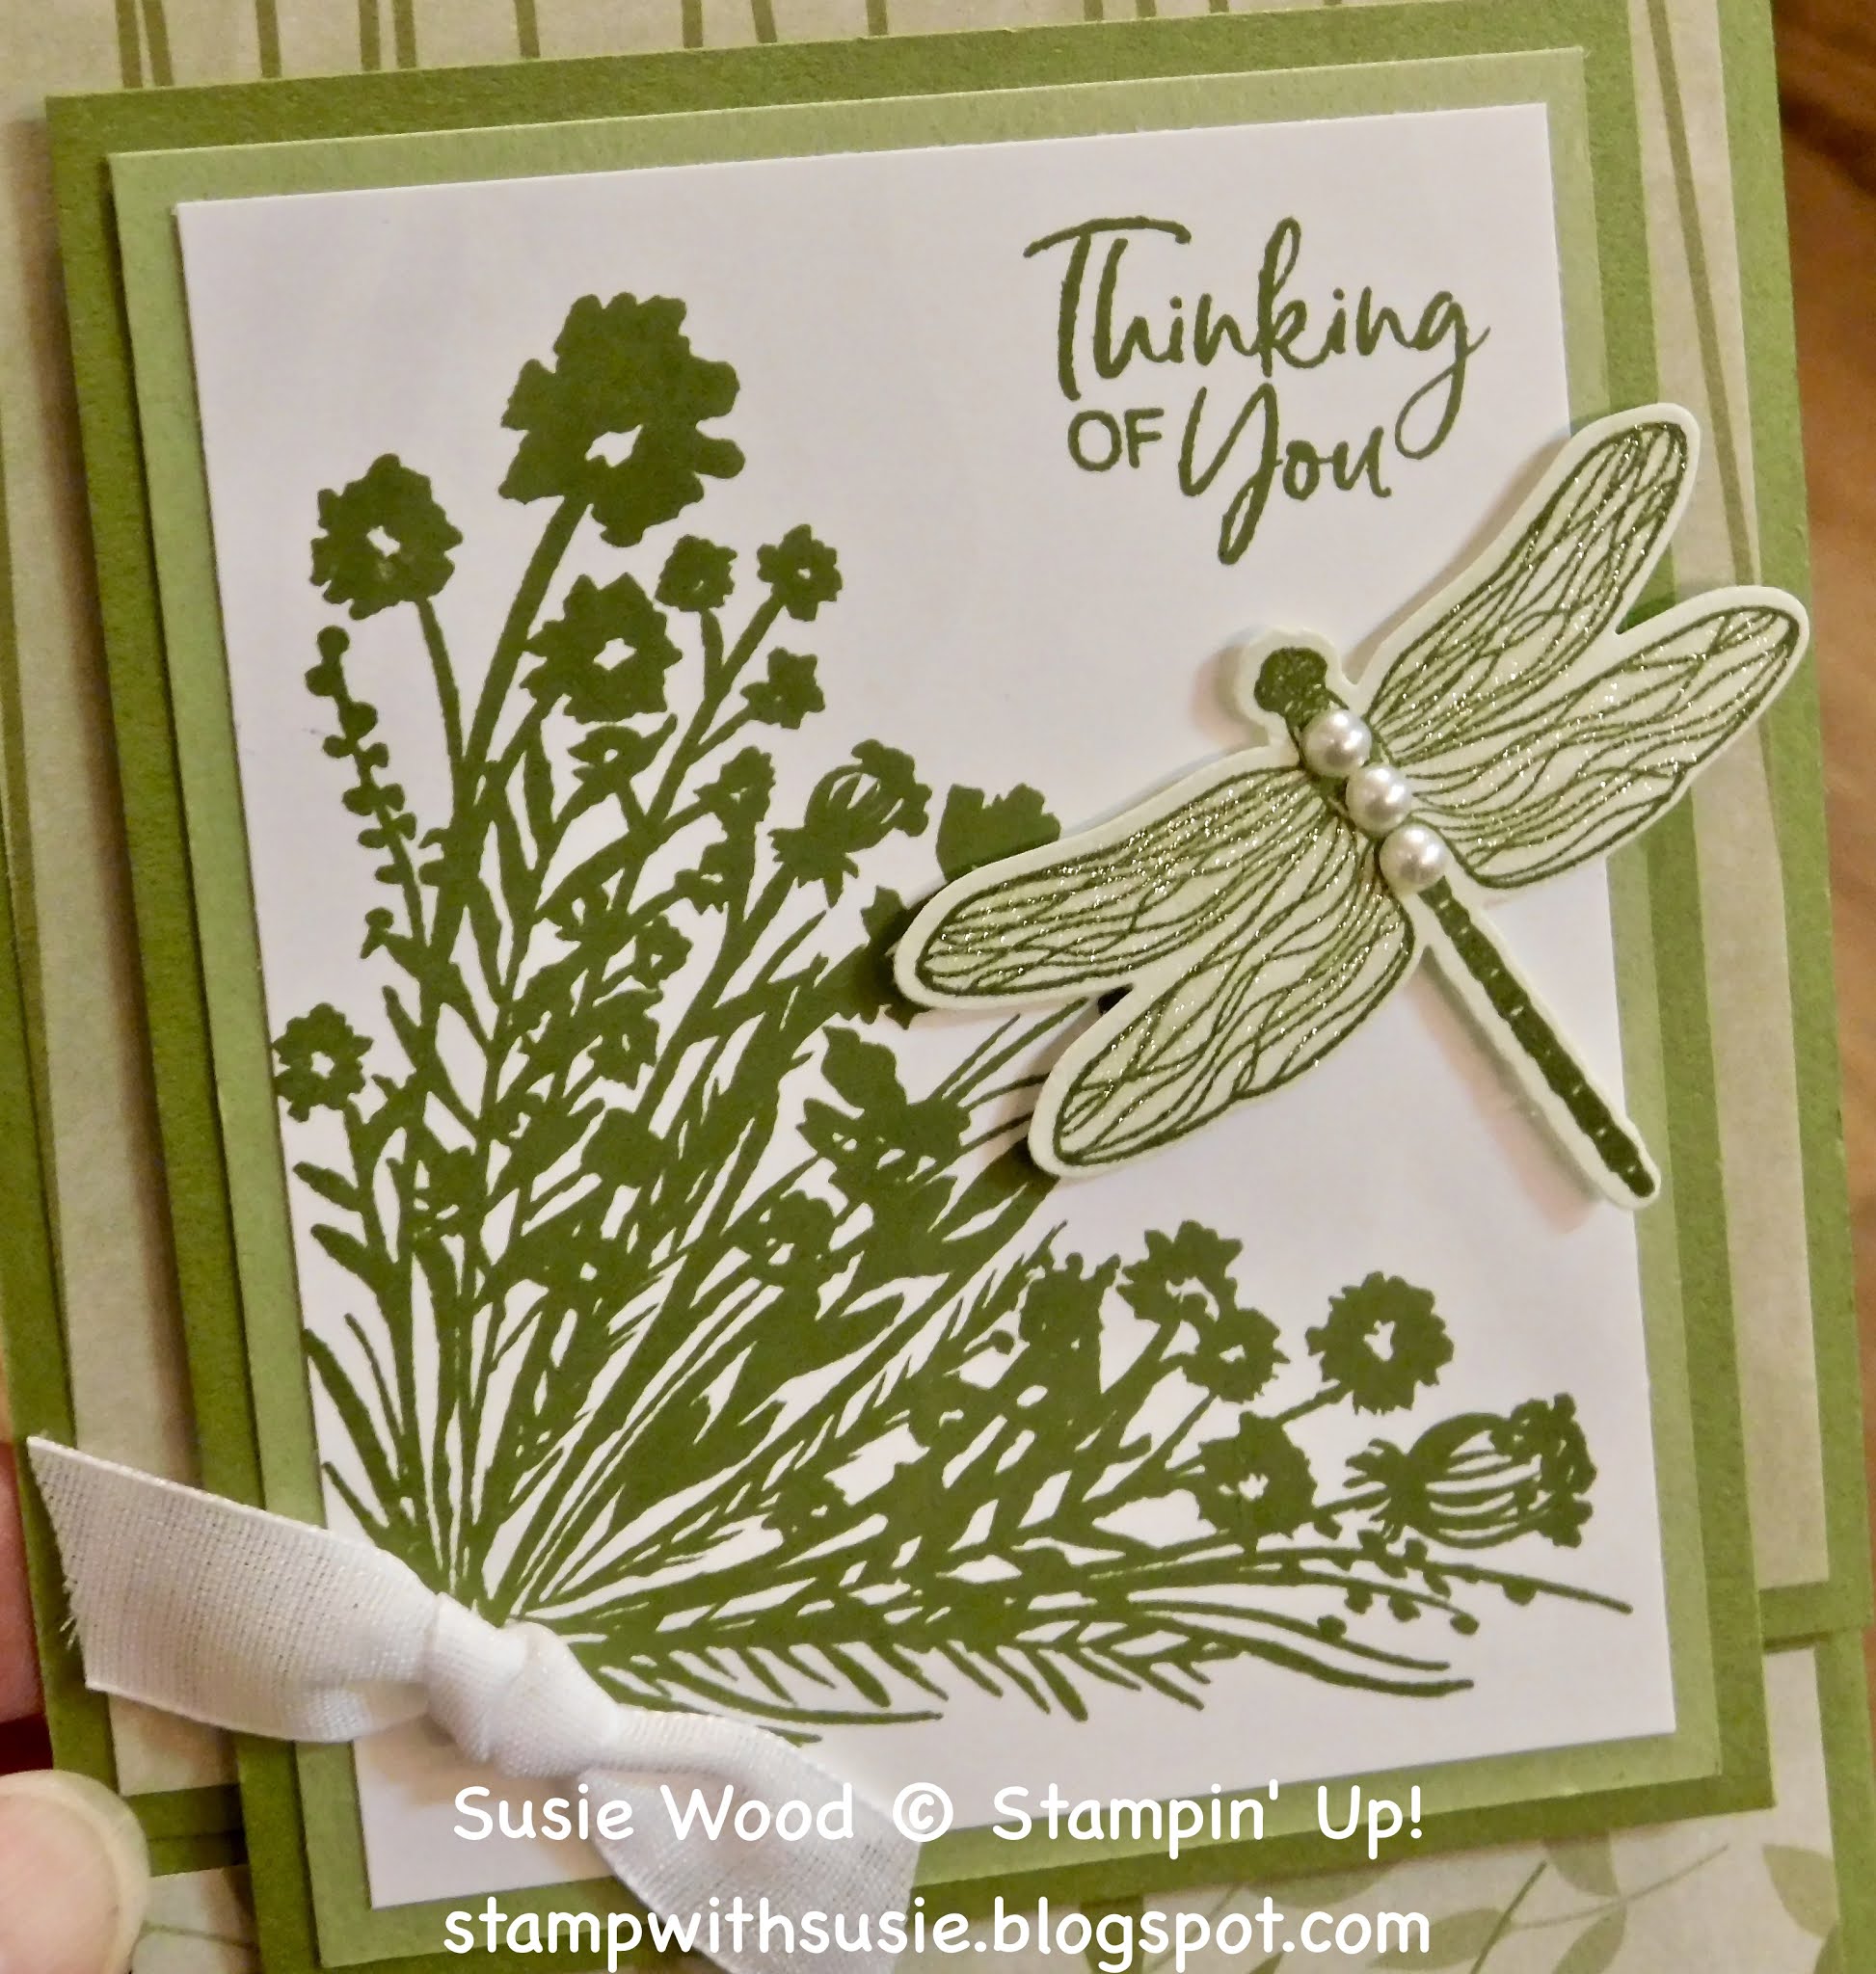
Check out these 4 cards that I made as my alternate cards!
I didn't use any other products to make these cards, than the supplies that were in the kit.
There are the all of the supplies that were included in this kit!

The Poppy Parade strip & piece on the front of the 2 cards are actually 
one of the envelopes that I cut apart & used.
 
 Where did I get the black layer piece that I used here?
On this one- I cut a little off the mailbox edges.
Here is the piece I trimmed down to get the black layer!

 Which one do you like the best?

 This is a peek at the February Paper Pumpkin kit called - Bouquet of Hope.

About the February Kit called- Bouquet of Hope

Here are some details about it-

  • Kit contains enough supplies to create 9 cards—3 each of 3 designs—and coordinating envelopes. Kit includes card bases, decorative die-cut pieces, embellishments, and more.
  • Card size: 4-1/4" x 5-1/2" (10.8 x 14 cm)
  • Envelope size: 4-1/2" x 5-3/4" (11.4 x 14.6 cm)
  • Coordinating colors: Basic Black, Bumblebee, Just Jade, Merry Merlot, Mossy Meadow, Rococo Rose
  • Coordinates with the Flower & Field Designer Series Paper, an exclusive Sale-A-Bration item.

You must subscribe to the February 2021 Paper Pumpkin Kit between 11 January and 10 February.  CONTACT ME! OR Click HERE TO SUBSCRIBE TO IT!

Note: Supplies may be limited toward the end of the subscription period.

Coordinating Product- #155223 = Flower & Field Designer Series Paper

Earn this pack of paper for FREE with a product purchase of $50 during Stampin’ Up!’s Sale-A-Bration promotion between 1/4/21 to 2/28/21.

I hope you have a MARVELOUS Monday!!
Happy Stamping!
Hugs-
SUSIE

Sunday, January 24, 2021

Stampin' Up!- Sending Hearts January Paper Pumpkin Alternative

I made this fun fold card that has a center latch.
 
I made another center latch card with a butterfly on it.
The center latch piece just slides upward.
 Here is a photo of the card opened up.
Check out the latch part.
For the patterns I made to show you here- they are made out of Basic White card stock.
But for the actual center latch part on my card I made all 
4 squares out of  Basic Black card stock.

This is how you make the latch part.
It is 4 pieces of card stock that measure 3 1/2 x 3 1/2" each. 
Two of them you score at 1 3/4" & fold in half.
Those 2 folded pieces become the sandwich (center) of the latch.
You then put a front & a back piece on them.
This is how you fold the 2 that go in the center.
They fold are back to back.
This is a close up photo of the center latch.
All of the supplies for this card are from the  
Sending Hearts January Paper Pumpkin kit, 
except for the Basic Black card stock & the Memento ink pad.
 
card stock:
  • Basic Black- 4 1/4 x 11"- score at 2 3/4" from both ends & fold to make a center gate fold card base
  • Basic Black- 3 1/2 x 3 1/2"- for front side of latch piece
  • Basic Black- 3 1/2 x 3 1/2"- for back side of latch piece
  • Basic Black- 
designer paper:  This is actually one of the cards in the kit that I cut into 4 x 2 1/2" pieces (x2)
ink:  Memento
Check out all of the supplies that are in this 
Sending Hearts January Paper Pumpkin Kit.
It contains supplies to make 8 cards with matching envelopes.
Plus you'll have left over pieces to create whatever else you want to with them.
The Ink Spot is the color- Poppy Parade.
 I hope you have a SUPER Sunday!!
Happy Stamping!
Hugs-
SUSIE

Saturday, January 23, 2021

Stampin' Up! Lots of Heart Bundle

Oh my gosh!
Have you noticed the awesome Many Hearts Dies on page 15 in the Spring Mini Catalog?
I LOVE them!
This Lots of Heart Bundle is just great!
Check it out- there are 15 different dies & 11 stamp images!
 I think this heart card is a great all occasion card.
Yes- it would work for Valentines, a wedding, thank you, birthday, get well, etc.
 
How did I cut the DSP?
 I took a piece of 6x6" DSP & cut it apart.
Here is a pattern I made so that you could see how I did it.
 #1.  Cut it at a diagonal like this.
#2.  HOLDING IT TOGETHER- ROTATE IT!
#3.  And then cut it again like this.
You now have 4 evenly shaped pieces to add to your card front.
 When you add the DSP to the card front it looks like this.
TIPS:  When you put on the DSP to your card front, line up the top left corner & the left edge.
 
Here are the supplies & the measurements that I used so that you can make this card too.
stamp set:  'Lots of Hearts'
card stock:
    *Thick Basic White-  5 1/2 x 8 1/2"- score at 4 1/4"- fold in half for card base
    *Rococco Rose- 4 x 5 1/4"
    *Rococco Rose- 2" strip- die cut dotted stitched heart
    *Basic White-3 3/4 x 5"- for outside of card- stamp words along the bottom right corner
    *Basic White- 4 x 5 1/4"- for inside of card
    *Basic White- 3 1/2" strip- die cut heart
    *Basic White- 2 3/4" strip- stamp heart & die cut
    *Basic White- 5 1/2' strip- die cut the outline hearts & use the solid center hearts for the card front, layering this into the center of the Rococco Rose hearts
designer paper:  Paper Blooms DSP- FREE Sale-a-bration choice with a $50 product order
ink:  Rococco Rose
other: Stampin' Cut & Emboss Machine; Many Hearts Dies; Resin Hearts; dimensionals

I hope you have a SPECIAL Saturday!!
Happy Stamping!
Hugs-
SUSIE

Friday, January 22, 2021

Stampin' Up! A Touch of Ink fun fold!

WOW- check it out!
This is a fun fold card that I made earlier this month, for a swap that
I did with some of my demonstrator friends from different states. 
 
Just look at the awesome stitching around the butterfly.
I did that by using the NEW Stitched Whimsy Dies on page 72 in the Spring Mini Catalog.

The butterfly & words are from the 'A Touch of Ink' stamp set that is a
Sale-a-bration choice that you can get for FREE with a $100 product order.
 
And the polk-a-dot DSP is from the Flower & Field Designer Paper
that is also a Sale-a-bration choice that you can get for FREE with a $50 product order.
 
The card fold is a traditional center gate fold.
BUT the butterfly piece is made to slide on & off!
This is what it looks like when I'm sliding the center piece off.
This is kind of like a belly band, but it is easier & just really cool!
It is really just a "latch", to hold the card center together.
 This is what it looks like when the card is opened up! 
AND then-
Check out how I made the center latch part!

Here are photos of the pieces I made as 'patterns' for you to see how I made it. 

You will need-
  • 4 pieces of card stock that all measure 3 1/2 x 3 1/2".
  • 2 of those pieces will be scored down the center at 1 3/4" & then folded in half.
  • With the other 2 pieces- one will be the back & one will be the front. 
  • You will sandwich the center 2 folded pieces between the front piece & the back piece.
  • The folded edges of the 2 center pieces will butt up to each other in the center.
 I hope with this side view photo of the latch piece you can see how I assembled it.
Here is how you use all 4 pieces of card stock that measure 3 1/2 x 3 1/2" each.
  • Front- 1 black piece 
  • Center- 2 white pieces- that are folded in half & the folds meet in the center of the 'sandwich'. 
  • Back-- 1 black piece
BE SURE YOU stick it together securely with glue or seal plus, so that it doesn't pull apart.
I just love black & yellow butterflies- they are my favorite!

I added the Wink of Stella over the butterfly, 
although I don't think you can tell that by looking at the photos.
But in person it sure adds that extra sparkle!
 
Here are the supplies & measurements I used to make this card.
 
stamp set:  'A Touch of Ink'- FREE Sale-a-bration choice with a $100 product order
card stock:
  • Basic Black- 4 1/4 x 11"- score at 2 3/4" from both ends & fold to make a center gate fold card base
  • Basic Black- 3 1/2 x 3 1/2"- for front side of latch piece
  • Basic Black- 3 1/2 x 3 1/2"- for back side of latch piece
  • Bumblebee- 3 1/4 x 3 1/4"
  • Basic White- 3 x 3"
  • Basic White- 4 x 5 1/4"
designer paper:  Field & Flowers DSP- 4 x 2 1/2"; 4 x 2 1/2"- FREE Sale-a-bration choice with a $50 product order
ink:  Memento & Bumblebee
other:  Stampin' Cut & Emboss Machine; Stitched Whimsy Dies; Wink of Stella; Matte Black Dots; Bumblebee Ribbon; dimensionals; glue dots; Simply Scored Scoring Tool

I hope you have a FABULOUS Friday!!
Happy Stamping!!
Hugs-
SUSIE

Thursday, January 21, 2021

Stampin' Up! Approaching Perfection

 There is a fun z fold card, using the
'Approaching Perfection' Sale-a-bration stamp set!
This is a fun set that has some bold birthday words in it, 
along with some great words.
You can get this 'Approaching Perfection' stamp set for FREE with a $50 product order.
It is a fun z fold card.
This is what it looks like standing up!
 
I think that it would be a great birthday card for someone of any age- don't you!
 
I just LOVE this black & polk-a-dot DSP from the Flower & Field DSP pack.
This DSP is also a Sale-a-bration choice that you can get for 
FREE with a $50 product order!
 I made another card using these same products, but it is a totally different layout.
You can see it by clicking HERE!!!

Here are the supplies & measurements I used so that you can make this card too!
 
stamp set:  'Approaching Perfection'- SAB set= FREE with a $50 product order!
card stock:
  • Basic Black-  5 1/2 x 8 1/2"- score at 2 1/8 & 4 1/4"- to make a z fold for card base
  • Basic Black- 2 1/4" strip- punch out Essential Tag
  • Coastal Cabana- 4 x 5 1/4"
  • Coastal Cabana- 1 1/2 x 5"- use Triple Banner Punch to flag end & then emboss using the Little Details Embossing folder
  • Basic White- 3 3/4 x 5"- for the outside of the card
  • Basic White- 3 3/4 x 5"- for the inside of the card
  • Basic White- 1 1/2" strip- die cut stitched rectangle & stamp candles in it
designer paper:  Flower & Field DSP- 3 3/4 x 2"= FREE with a $50 product order!
ink: Memento
other:  Stampin' Cut & Emboss Machine; Little Details Embossing Folder; Stitched Shapes (square); Triple Banner Punch; Essential Tag Punch; Playing with Patterns Resin Dots (Coastal Cabana); Playing with Patterns Combo Ribbon (Coastal Cabana); dimensionals; glue dots

I hope you have a great Thursday!!
Happy Stamping!
Hugs-
SUSIE

Wednesday, January 20, 2021

The Bouquet of Hope- February Paper Pumpkin Kit!

https://su-media.s3.amazonaws.com/media/Promotions/2021/PP-February-2021/square/SQUARE1_BOUQUET_HOPE_NA.jpg 

Check out the February Paper Pumpkin kit!

About the February Kit called- Bouquet of Hope

Here are some details about it-

  • Kit contains enough supplies to create 9 cards—3 each of 3 designs—and coordinating envelopes. Kit includes card bases, decorative die-cut pieces, embellishments, and more.
  • Card size: 4-1/4" x 5-1/2" (10.8 x 14 cm)
  • Envelope size: 4-1/2" x 5-3/4" (11.4 x 14.6 cm)
  • Coordinating colors: Basic Black, Bumblebee, Just Jade, Merry Merlot, Mossy Meadow, Rococo Rose
  • Coordinates with the Flower & Field Designer Series Paper, an exclusive Sale-A-Bration item.

You must subscribe to the February 2021 Paper Pumpkin Kit between 11 January and 10 February.  CONTACT ME! OR Click HERE TO SUBSCRIBE TO IT!

Note: Supplies may be limited toward the end of the subscription period.

Coordinating Product- #155223 = Flower & Field Designer Series Paper

  • Earn this pack of paper for FREE with a product purchase of $50 during Stampin’ Up!’s Sale-A-Bration promotion between 1/4/21 to 2/28/21.

Stampin' Up! Sweet Ice Cream Bundle

 You all know I'm a punch girl!!
So I was super excited to see this new Sweet Ice Cream Bundle in the Spring Mini.
It is on page 49- so check it out!

Look at my ice cream.
See hot it is textured.
I used the So Ombre Sale-a-bration DSP, punched it out with the 
Ice Cream Cone Builder Punch & embossed it using the Painted Texture 3D Embossing Folder.
One side of this DSP piece is the Rococco Rose (pink ombre)
& the other side is the Bermuda Bay (blue ombre).
So with this same piece of DSP you can make them both pink or blue!
 This coordinating Ice Cream Corner DSP is awesome!
The stripes & the cone are both from this DSP.
 This is the same card.....but I used different words from this stamp set.
So that is cool too that you can use it for multiple occasions.
 
Here are the supplies & measurements so that you can make this card too.
stamp set:  'Sweet Ice Cream'
card stock:
  • Pool Party- 4 1/4 x 11"- score at 5 1/2"- fold in half for card base
  • Pool Party- 1 1/2 x 4 1/4"
  • So Saffron- 2 3/4 x 5 1/2"
  • Basic White- 1 1/4 x 4"- stamp words onto this
  • Basic White- 4 x 5 1/4"- for inside of card
designer paper:  
  • Ice Cream Corner DSP- 1 x 5 1/4"; 1 3/4" strip- punch out cone
  • Oh So Ombre- 1 3/4" strip- punch out 2 scoops of ice cream & emboss them with the Painted Texture 3D Embossing Folder; Sale-a-bration choice- FREE with a $50 product order
ink:  Pool Party
other:  Ice Cream Cone Builder Punch; Pool Party 3/8" Sheer Ribbon; Playing with Patterns Resin Dots; dimensionals; glue dots; Stampin' Cut & Emboss Machine; Painted Texture 3D Embossing Folder
 
I hope you have a WONDERFUL Wednesday!!
Happy Stamping!
Hugs-
SUSIE

Tuesday, January 19, 2021

Stampin' Up! Strawberry Builder Punch & Sweet Strawberry stamp set

 WOW!
This is a bright & cheery card!
I used the Sweet Strawberry Bundle on page 44 in the Spring Mini Catalog.
And I combined the Berry Delightful DSP from the Sale-a-bration Mini Catalog with it!
 
This strawberry stamp is a disinktive stamp image.
Notice how it gives light & dark shading when stamped.
It was designed to do this & makes it so easy to do.
I just stamped the outline of the strawberry.
And then stamped the solid inside image inside of it.
I just LOVE the variation of shading I got by doing this so easily!
I used the Painted Texture 3D Embossing Folder on my card front.
Then check out how I used the strips of the Berry Delightful DSP
& adhered them directly over the textured Poppy Parade card stock.
These 3 different DSP strips measure 1 x 4" each.
 
I then added the oval with my words.
And layered my strawberries & leaves onto it!
Now just how cute is this!
 
Here are the supplies & the measurements so that you can make this card too!
stamp set:  'Sweet Strawberry'
card stock:
  • Garden Green- 5 1/2 x 8 1/2"- score at 4 1/4"
  • Poppy Parade- 3 3 4/ x 5"
  • Poppy Parade- 2" strip- die cut scalloped Oval
  • Granny Apple Green- 1 1/2" strip- stamp leaves onto & punch out
  • Granny Apple Green- 1 1/2" strip- punch out strawberry stems
  • Basic White- 1 3/4" strip- stamp strawberries onto this & punch out
  • Basic White- 1 1/2" strip- stamp words onto & die cut with the Stitched Oval dies
  • Basic White- 4 x 5 1/4"- for the inside of the card
designer paper:  Berry Delightful Design DSP- 1x4"- 3 different strip.
This is a Sale-a-bration choice that you can get for FREE with a $100 product order.
ink:  Poppy Parade & Garden Green
other:  Stampin' Cut & Emboss Machine; Painted Texture 3D Embossing Folder; Oval Dies (scalloped oval); Stitched Shapes Dies (Oval); Strawberry Builder Punch; Whisper White Crinkled Seam Binding Ribbon; dimensionals; glue dots
 
I hope you have a TERRIFIC Tuesday!!
Happy Stamping!
Hugs-
SUSIE

Monday, January 18, 2021

Stampin' Up! Dragonfly Punch

Yesterday I posted this photo! 
  I just love this monochromatic card, with the 'Corner Bouquet' stamp set!
And adding the dragonfly onto it- just completed it!
It is a little different fold, as you can see here!
I cut 1 1/4" off of bottom front of the card, 
so that the layered piece on the front hung down some.
 This is what it looks like when it is opened up!
Notice how I added a 1 x 4" strip of DSP along the bottom of the inside.
And this is what it look like from the front!
 
The words are from the 'A Touch of Ink' that is also a 
Sale-a-bration choice that you can get for FREE with a $100 order.
 
The green DSP patterns are from the Paper Blooms DSP- 
that is a Sale-a-bration choice you can get for FREE with a $50 order.

This is a totally Susie card & I love it!
I hope you do too!

Here are the supplies & measurements I used so that you can make this card too!
stamp sets:  'Corner Bouquet', 'Dragonfly Garden' & 'A Touch of Ink' (for the words)
card stock:
  • Old Olive- 4 1/4 x 9 3/4"- score at 5 1/2" for card base
  • Old Olive- 3 1/2 x 4 1/4"
  • Pear Pizzazz- 3 1/4 x 4"
  • Soft Seafoam- 2" strip- stamp dragonfly onto this & punch out
  • Basic White- 3 x 3 3/4"- stamp images on this for the front of the card
  • Basic White- 4 x 4"- for the inside of the card
designer paper:  Paper Blooms DSP- FREE Sale-a-bration choice with a $50 order
ink:  Old Olive
other:  Basic Pearls, Wink of Stella (for the wings); Flowers for Every Season Ribbon Combo Pack (White); Dragonfly Punch; glue dots; dimensionals

I hope you have a MARVELOUS Monday!!
Happy Stamping!
Hugs-
SUSIE

Sunday, January 17, 2021

Stampin' Up! Corner Bouquet & Dragonfly Punch

 Wow- here is a peek at a pretty monochromatic card.
I just love the way it turned out!
It is a totally Susie card.

I used the 'Corner Bouquet' stamp set.
You can get this stamp set for FREE during Sale-a-bration with a $50 product order.

And I added a dragonfly from the 'Dragonfly Garden' stamp set & punched it out
with the coordinating Dragonfly Punch.
You can get these as a bundle & save 10%.

Stop back by tomorrow & I'll share more about this card.
Sorry- I have a jam packed day & still lots to do.
Gotta run.

I hope you have a SUPER Sunday!!
Happy Stamping!
Hugs-
SUSIE

Saturday, January 16, 2021

Stampin' Up! Pierced Blooms Dies

 Yesterday I posted a card using this Paper Blooms DSP & the Pierced Blooms Dies.  
 
Check out these 3 other cards I made with the same layout- 
just changing it up a bit. 

I love this top one!!
It is so bright & crisp looking.
 For this one I used 2 of the smaller stitched flowers!
 And on this one I used the large stitched flower again.

Which one is your favorite?

Here are the supplies & measurements I used to make this card.
stamp sets:  'In Bloom' (big flowers) & 'Quite Curvy' (words)
card stock:
  • Night of Navy- 4 1/4 x 11"- score at 5 1/2"- fold in half for card base
  • Night of Navy- 1/2" strip- punch out tiny flower with the Confetti Floweres Border Punch
  • Seaside Spray- 3 3/4 x 3 1/2"- die cut curvy along bottom edge
  • Basic White- 4 x 5 1/4"- outside of card
  • Basic White- 4 x 5 1/4"- inside of card
  • Basic White 2 1/2" strip- die cut stitched flower
designer paper:  Paper Blooms DSP- 4 3/4 x 2"- FREE Sale-a=bration choice with a $50 product choice
inks:  Night of Navy & Seaside Spray
other:  Stampin' Cut & Emboss Machine; Pierced Blooms Dies; Curvy Dies; Confetti Flowers Border Punch; Snail Mail Twine Combo Pack (White Twine); dimensionals; glue dots
 
I hope you have a SPECIAL Saturday!!
Happy Stamping!
Hugs-SUSIE

Friday, January 15, 2021

Stampin' Up! Paper Blooms DSP

 There are lots of flowers here!
I was having fun playing with different colors & layouts as I was making this card.

I combined the 'In Bloom' & 'Quite Curvy' stamp sets,
along with the Paper Blooms Designer Paper.

Check out the awesome stitching on this flower!
These are the Pierced Blooms Dies.
WOW- they are just gorgeous dies!

In the center of the big flower I punched out a small flower from
the Confetti Flowers Border Punch.
Here are the supplies & measurements I used to make this card.
stamp sets:  'In Bloom' (big flowers) & 'Quite Curvy' (words)
card stock:
  • Night of Navy- 4 1/4 x 11"- score at 5 1/2"- fold in half for card base
  • Night of Navy- 1/2" strip- punch out tiny flower with the Confetti Floweres Border Punch
  • Seaside Spray- 3 3/4 x 3 1/2"- die cut curvy along bottom edge
  • Basic White- 4 x 5 1/4"- outside of card
  • Basic White- 4 x 5 1/4"- inside of card
  • Basic White 2 1/2" strip- die cut stitched flower
designer paper:  Paper Blooms DSP- 4 3/4 x 2"- FREE Sale-a=bration choice with a $50 product choice
inks:  Night of Navy & Seaside Spray
other:  Stampin' Cut & Emboss Machine; Pierced Blooms Dies; Curvy Dies; Confetti Flowers Border Punch; Snail Mail Twine Combo Pack (White Twine); dimensionals; glue dots
 
I hope you have a FABULOUS Friday!!
Happy Stamping!
Hugs-
SUSIE

Thursday, January 14, 2021

Stampin' Up! Punch Party heart card

Wow- here is a quick card!
It is a bright & cheery card!
It makes a great all occasions card- as you could use it for many different occasions!

Check out the black stamped images around the outside of the heart.
It is like lace!
I think it is really cool!
And like the way it looks when it is punched out & layered.

This stripped DSP is from the Flower & Field DSP,
that is a Sale-a-bration choice & FREE with a $50 product order.
AND
The stamp set is called- 'Punch Party'!  
It goes with some different punches in the catalogs.
  • Double Oval Punch- pg. 65 in the Spring Catalog 
  • Heart Punch Pack- pg. 168 in the Annual Catalog
  • Rectangular Postage Stamp- pg. 168 in the Annual Catalog
This 'Punch Party' stamp set is FREE for hosting a party over $300 during Sale-a-bration!
 If you look at the black strip of card stock can you tell that I embossed it
using the Painted Texture 3D Embossing Folder?
And I also added the Matte Black Dots too!
 
Here are the dimensions & the supplies-
stamp set:  'Punch Party'= FREE Sale-a-bration Host stamp set with a $300 party order
card stock:
  • Flirty Flamingo- 4 1/4 x 11"- score at 5 1/2"- fold in half for card base
  • Flirty Flamingo- 2 1/2" strip- stamp lace heart edge & punch out with scalloped heart
  • Basic Black- 3 1/4 x 4 1/4"
  • Basic Black- 1 x 5 1/2"
  • Whisper White- 2 1/2" strip- stamp words & punch out with heart punch
  • Whisper White- 4 x 5 1/4"- for inside of card
designer paper:  Flower & Field DSP- 3 x 4"= FREE Sale-a-bration choice with a $50 product order
ink:  Memento
other:  Stampin' Cut & Emboss Machine; Painted Texture 3D Embossing Folder; Heart Punch Pack; Playful Pets Combo Trim (black & white twine)- 12" fold in half & tie a bow; Matte Black Dots; dimensionals; glue dots
 
I hope you have a great Thursday!!
Happy Stamping!
Hugs-
SUSIE

Wednesday, January 13, 2021

Stampin' Up! Art Gallery

Wow- this is a gorgeous 2 step stamp set!!
It is so easy to do the 2 different shades in the flower with the stamps!
This stamp set is called- "Art Gallery" & can be found on page 34 in the Spring Mini Catalog.

This is a fun fold "dutch door" fold.
Check it out when it is opened up!!
It is fun!
I love it!
This is what I would put into the inside, so that you could have a sentiment 
PLUS have a place to sign it.
 
 This is clean, simple, yet elegant!!

Here are the measurements & supplies I used to make this card, so that you can make it too!
stamp set:  'Art Gallery'
card stock:
  • Basic Black-  4 1/4 x 5 1/2"- for card base
  • Basic Black- 2 3/4 x 8 1/2"- score at 4 1/4"- fold in half & attache to the card base
  • Basic Black- 1' strip- punch out scalloped oval
  • Basic Black- 3 x 4 1/4"
  • Highland Heather-1" strip- stamp words onto & punch out with oval punch
  • Highland Heather- 4 x 5 1/4"- for inside of card.  Embossing using the Painted Texture 3D Embossing Folder
  • Highland Heather- 2 3/4 x 4"
  • Whisper White- 2 1/2 x 3 3/4"- stamp flower onto this
  • Whisper White- 2 1/2 x 3 3/4"- for inside of card to put greeting onto
designer paper:  Hydrangea Hill DSP- 2 1/2 x 4"
ink:  Highland Heather, Gorgeous Grape, Old Olive, Memento
other:  Double Oval Punch; Gorgeous Grape 3/8" Sheer Ribbon; Wink of Stella; Stampin' Cut & Emboss Machine; Painted Texture 3D Embossing Folder; dimensionals; glue dots

I hope you have a WONDERFUL Wednesday!!
Happy stamping!
Hugs-
SUSIE

Tuesday, January 12, 2021

Stampin' Up! Oh Snap!

This is a fun card!
Check out the plaid crocodile!
I think he is adorable!
This is a fun z fold card & looks like this when it is standing up.

How did I get the plaid crocodile?
  • I stamped the crocodile onto the plaid DSP, using Memento ink.
  • And then cut him out with my scissors.  
  • Using my Stamparatus- I stamped the crocodile again onto a piece of 3 3/4 x 3 1/2" Basic White cardstock.
  • I colored the points on the crocodiles back with the Garden Green Stampin' Write Marker.
  • I then glued the cut out plaid (body) onto the stamped crocodile.
  • I added the small Matte Black Dots for his eyes.
 Here are the supplies & measurements so that you can make this card too!

stamp set:  'Oh Snap' (crocodile & words); 'Lots of Hearts' (vertical hearts)
card stock:
  • Basic Black- 4 1/4 x 11"- score at 2 3/4" & 5 1/2"- fold for card base
  • Real Red- 1" strip- punch out heart
  • Real Red- 1 1/2"strip- die cut scalloped circle
  • Real Red- 1/2 x 4 1/4"- stamp hearts
  • Basic White-3 1/2 x 3 3/4"- stamp crocodile onto this
  • Basic White- 1 1/2" strip- stamp words onto & die cut circle
  • Garden Green- 3 3/4 x 4"
designer paper:  Berry Delightful DSP- 4x4"- stamp crocodile onto & cut out with scissors
This Berry Delightful DSP comes in a bundle with the Berry Blessings stamp set.  They are a Sale-a-bration product & you can get them for FREE with a $100 product order.
ink:  Memento & real Red
Stampin' Write Marker:  Garden Green
other:  Stampin' Cut & Emboss Machine; Tasteful Labels Dies (scalloped circle); Layering Circle Dies (circle); 3/8" Double-Stitched Satin Ribbon; Kiss Punch (small heart); Matte Black Dots (for his eyes); dimensionals; glue dots; paper snips (scissors)
 
I hope you have a TERRIFIC Tuesday!
Happy Stamping!
Hugs-
SUSIE