I love the big 'Delicate Dahlia' stamp set.
It is a dis'ink'tive stamp set.
That means it has natural shading directly made into the stamp,
to make the light & dark spots!
This 'Delicate Dahlia' stamp set is a Sale-a-bration choice.
This mean that you can get this stamp set for FREE with a
$100 product order.
WOO HOO!!
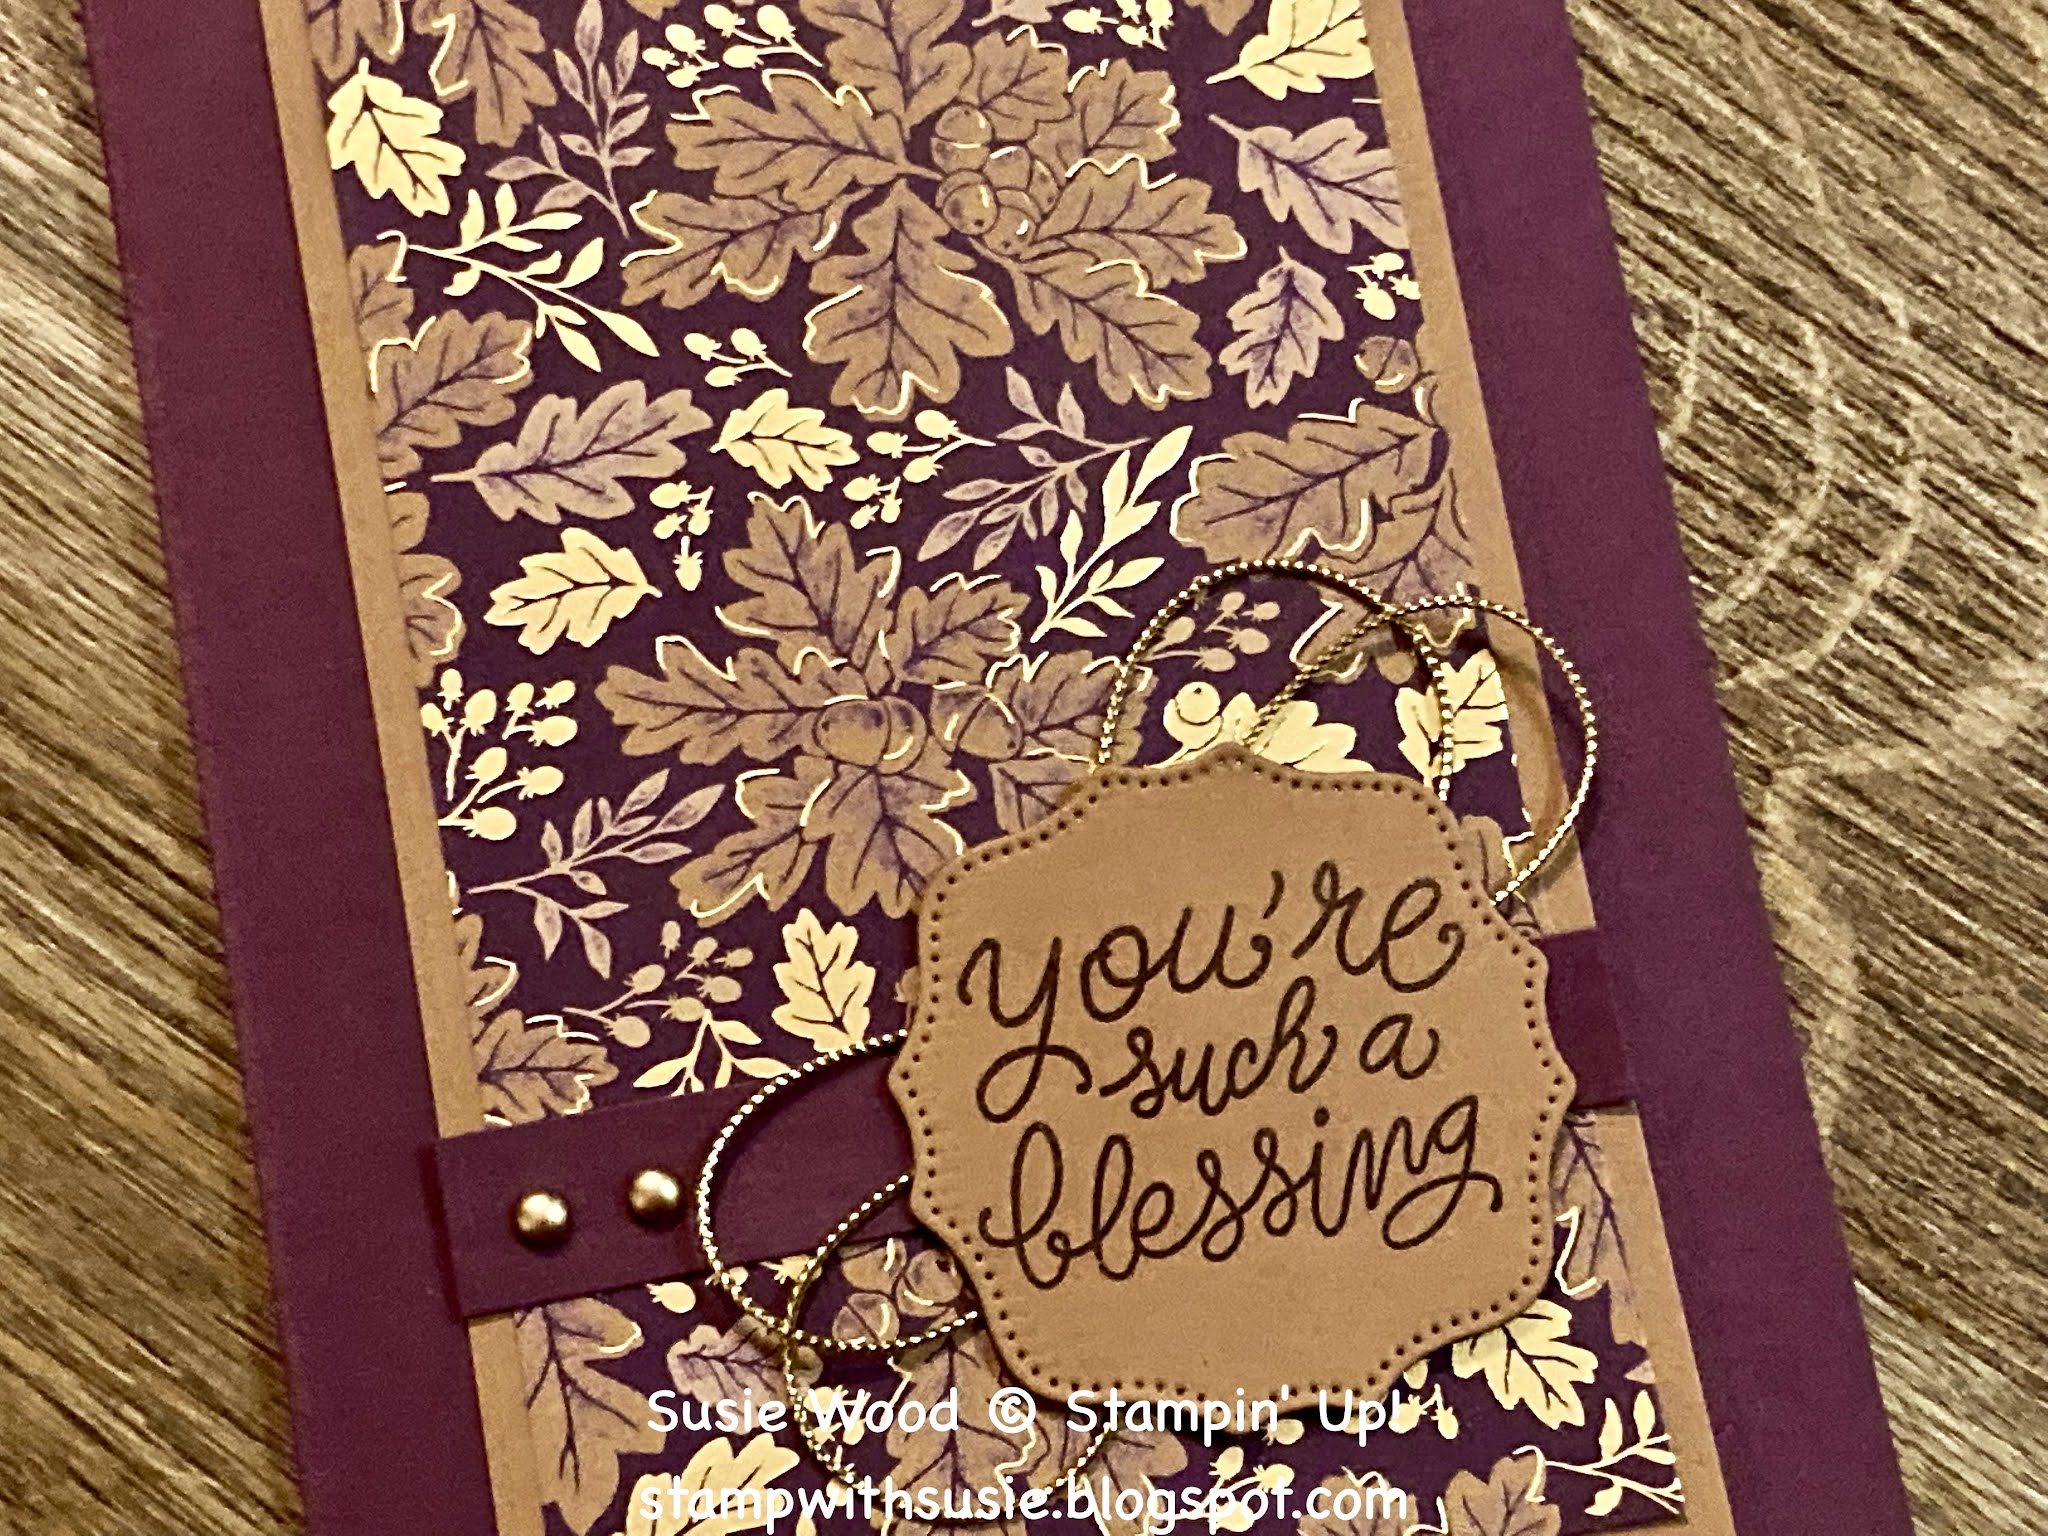
Isn't it just gorgeous!
This is what the card looks like when standing up. It is a fun Z fold.
Z fold cards are my favorite go to card layout.
They are easy to do & give the card a little different flare.
+++++++++
How did I make the Dahlia flower stamp?
I did the MASKING TECHNIQUE!
I used my Stamparatus.
Look how easy the Stamparatus helps to make this flower so easy to stamp!
NOTE: If you look closely at my flower stamps- I do have a little Black Sharpie
mark on the thin pointed petal at the bottom middle on BOTH flower stamps.
This helps me to know how to line it up too!
1. Stamp the outline image of the flower.
2. This is what it looks like!
3. Now stamp the solid image flower stamp- lining it up into the outline flower.
SOME NOTES: My photopolymer stamps are stained a pinkish red color. The stamp is cleaned & is now inked into my Highland Heather ink pad.
The staining does not affect the stamp at all, other than the color of it.
If you use your stamps they will not stay completely clear & this is ok!
VERY IMPORTANT TO KNOW-
DO NOT CLEAN PHOTOPOLYMER STAMPS WITH STAZON CLEANER
as it will damage your photopolymer stamps!
4. I inked the flower & shut the Stamparatus top lid with the solid image flower on it.
I used my PRESS to put pressure all over the stamp, so that I got a good solid image.
What is a PRESS?
Deke made this for me.
(YES I have a wonderful & talented husband that it totally supportive of my stamping!)
The PRESS is an old Stampin' Up! Wood block that he painted, put a knob onto &
glued on a felt coaster.
It is AWESOME!
And I got this idea for the PRESS from my wonderful downline Von,
whom made one similar to this & gave it to me.
So BLESS HER for this awesome idea!
This is what the PRESS looks like!
5. And this is what the stamped Dahlia looks like!
WOW- isn't it sooo pretty!
6. Now I made a MASK out of a Post-It-Note.
I stamped the outline flower onto the Post-It-Note & then with my scissors I
fussy cut out around the flower image where I wanted the leaves to go.
NOTE: I left some of the TOP sticky part of the Post-It-Note so
that it would stick to my card stock.
I put this MASK directly over my purple stamped flower.
7. I now stamped my leaves onto the corners of my flower like this,
stamping onto the edges of the Post-it-Note MASK.
8. This is what it looks like when the leaves are stamped & you remove the Post-It-Note MASK.
Neat huh!
I just LOVE how these turned out!
Here are the supplies & measurements.
stamp set: 'Delicate Dahlia'
card stock:
- Highland Heather- 5 1/2 x 8 1/2"- score at 2 1/8" & 4 1/4"- for card base
- Garden Green-4 x 5 1/4"
- Basic White- 3 3/4 x 5"- stamp Dahlia on the top part of this piece & add the DSP to the bottom part of this card.
- Highland Heather- 1/2 x 5 1/2"- adhered at a diagonal & snip off the ends of this strip as shown in photo.
- Basic White- 1 1/2" strip- stamp words onto & punch out with Double Oval Punch
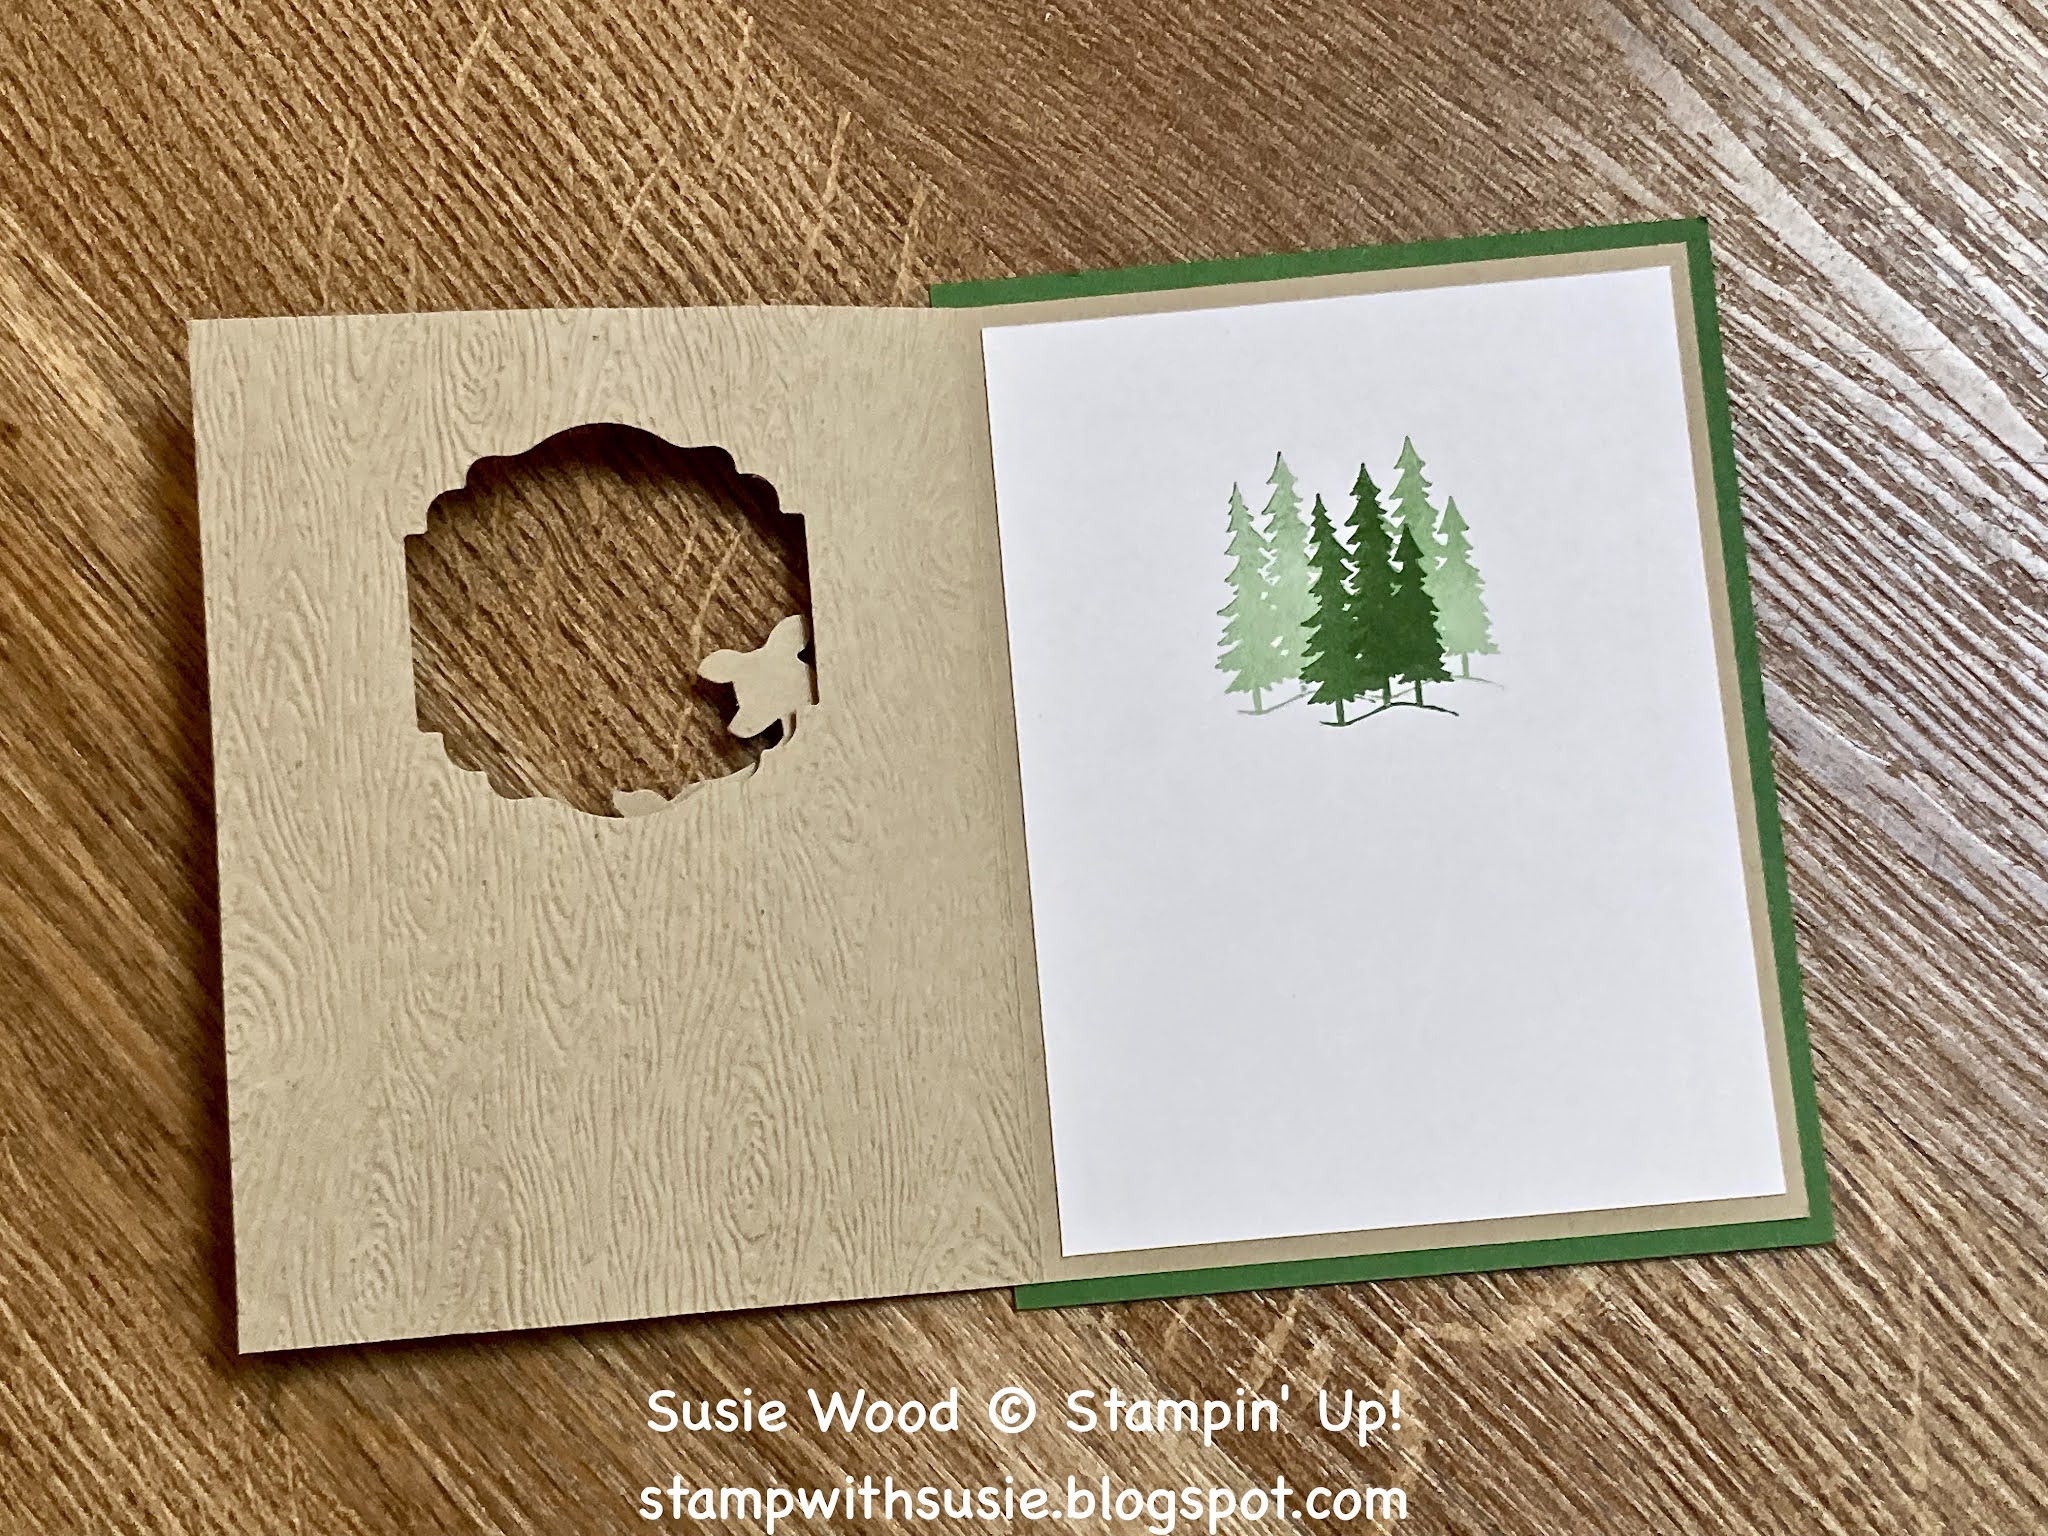
- Basic White- 3 3/4 x 5"- for inside of card
designer paper: Peaceful Prints DSP- This is a SAB choice you can get for FREE with a $50 product order!
- 3x 4"- diagonal cut at the 3/4" mark on the lower left. You'll now have 2 pieces & you'll only use one on this card. You can save the other one & make another card with it!
ink: Highland Heather & Garden Green
other: Stamparatus; Pearls; Double Oval Punch; Wink of Stella; Highland Heather Ribbon; dimensionals; glue dots
I hope you have a FABULOUS Friday!!
Happy stamping!
Hugs-
SUSIE